System Image Flashing
Flashing the System
-
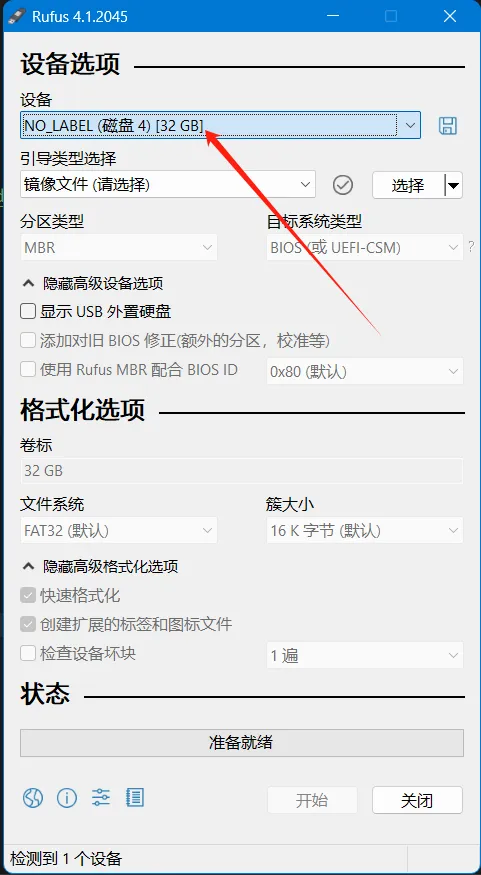
Open Rufus, select the device. The displayed capacity should match the capacity of the SD card inserted into the computer.
-
For
Boot selection, simply leave it set to the default option,Disk or ISO image. -
To select the image file, click the
Selectbutton to the right ofBoot selection, and choose the extracted.imgfile. -
After selecting the image file, the
Boot selectionfield will change to display the filename of the image.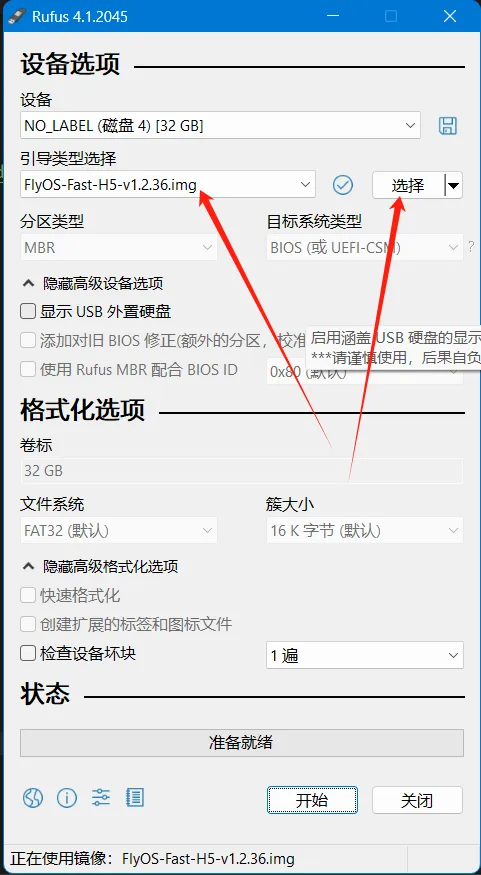
-
Click the
Startbutton. If a window pops up indicating that the disk data needs to be erased, clickOK.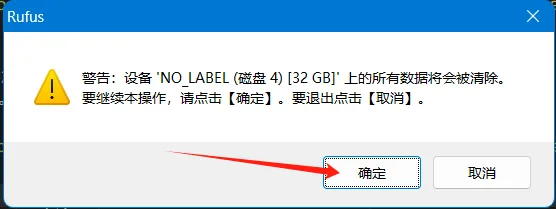
-
Once the flashing process is complete, the computer will emit a prompt sound, and the progress bar will show
Ready.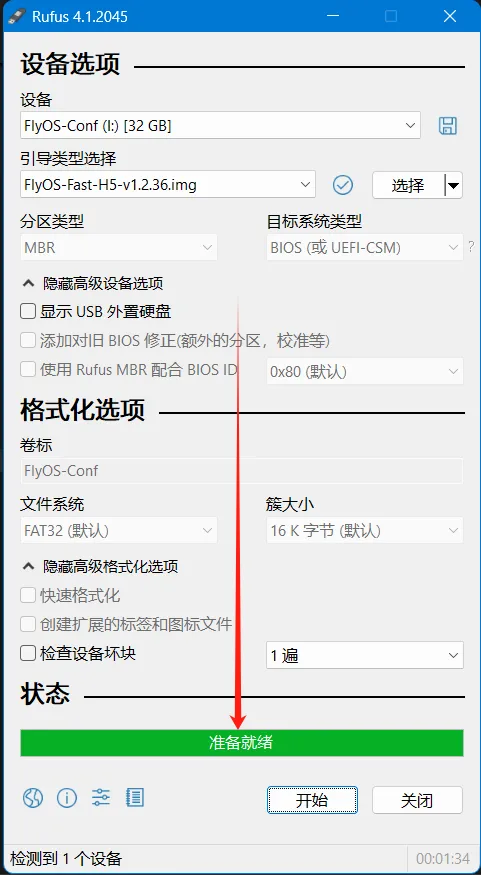
-
After flashing is complete, there is no need to immediately remove the SD card.
-
Open File Explorer and check if there is a USB drive or removable disk named
BOOT.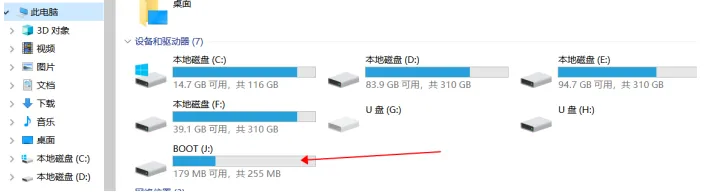
-
The appearance of the
FlyOS-envfile indicates that the flashing was successful. -
Install the SD card into the motherboard.
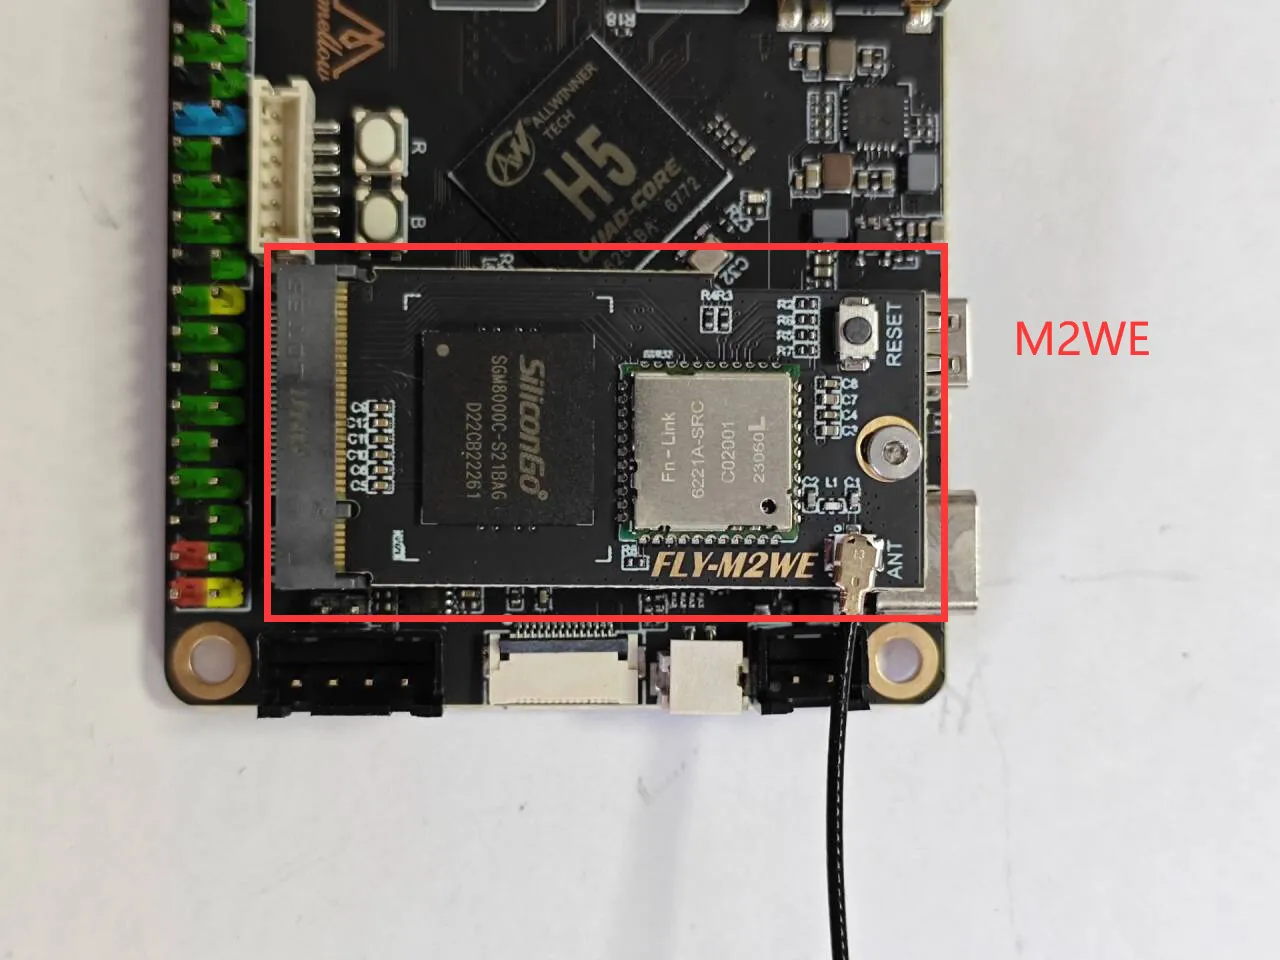
Installing the System Card
- M2WE Installation Diagram for PI-V2
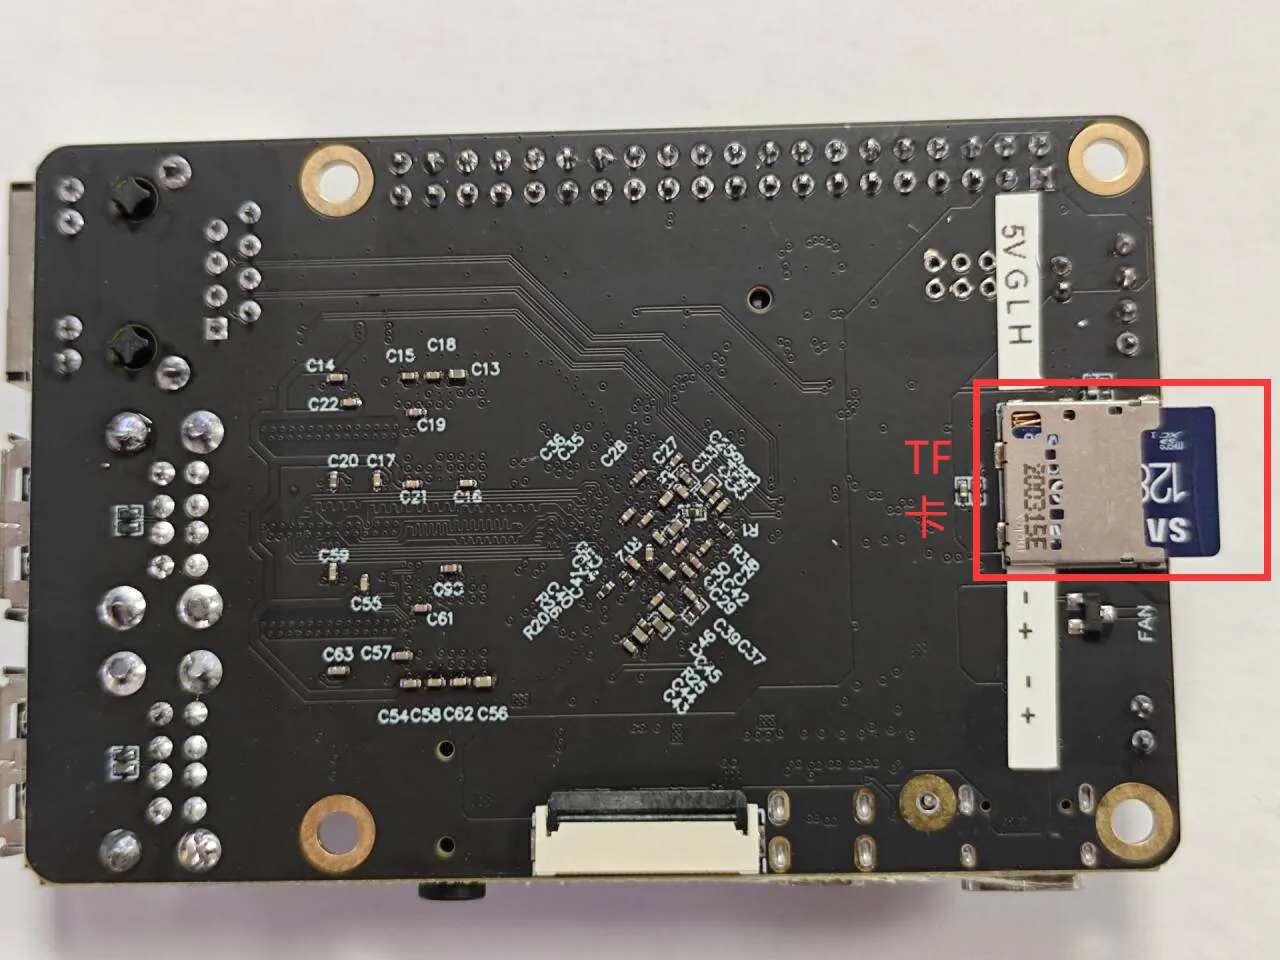
- TF Card Installation Diagram for PI-V2
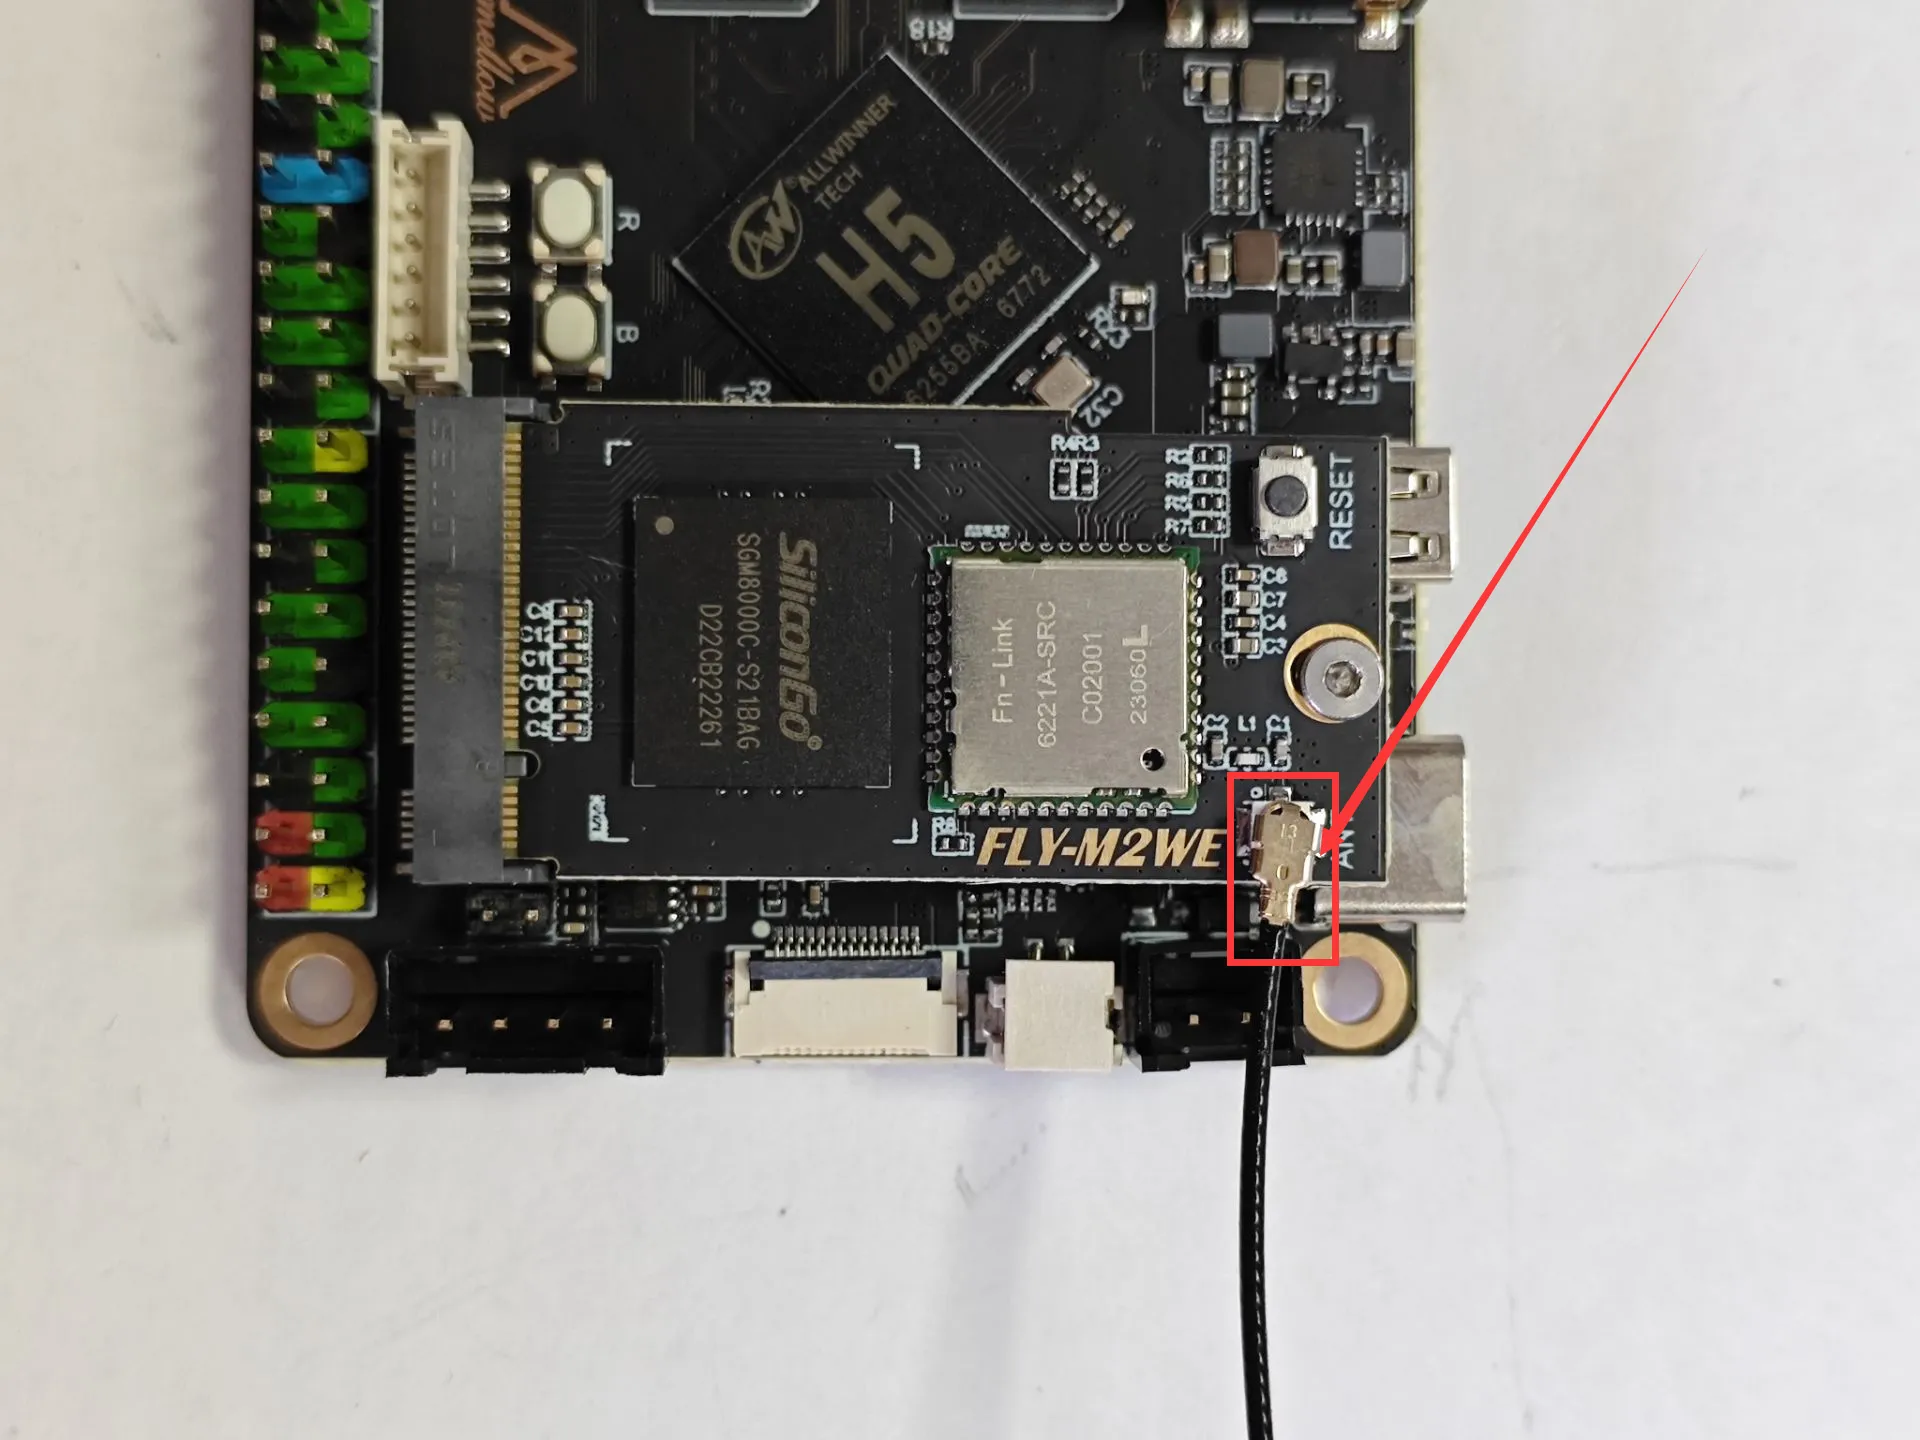
Installing the Antenna
- Install the antenna for the
M2WEor2.4G WiFimodule.
- The FLY host computer requires the
M2WEor2.4G WIFImodule; otherwise, WiFi cannot be used. - Please note that the host computer does not support WIFIs with Chinese names and does not support dual-band合一 WiFi (2.4G and 5G).
- The red arrow points to the WIFI antenna interface.
- The WIFI antenna port is
ipex1. - Please install the antenna onto the M2WE; otherwise, poor signal may prevent connecting to the router.
- After the system card is installed, proceed to the next step and connect to the host computer via SSH.
- Power the host computer.
At this point, your host computer is now ready to boot up!!!
Proceed to the next step: SSH Connect to Host
Modifying Other System Configuration Options
For modifying other system configuration options, please refer to: Modifying System Configuration