System Flashing
Host Machine Quick Start Guide
Host Machine Quick Start GuidePreparation Before Flashing the System
- Card reader
- One TF card, capacity must be no less than 16GB or no more than 128GB, and the transfer speed of the TF card must be Class10 or higher
- Download the corresponding system image
- Download the required flashing tool
System Flashing
- Lite2.1 can only flash the system to a TF card, M2WE is not supported
- After flashing the system, the TF card must be installed on the Lite2.1 board
Flashing the System to TF Card
Preparation
- First install the software
SDFormatterandRufusFormatting Tool - Extract the system, after extraction the file suffix is
.img - It is not recommended to use
balenaetcherandRaspberry Pifor system flashing - Insert the TF card into the card reader, and plug the card reader into the computer's USB port
- If the TF card has data, back it up. After flashing the system, the system card is not recommended to be removed unless you need to flash to M2WE
Formatting the Memory Card
- Use the
SDFormatter.exesoftware to format the TF card - Select the disk you want to format
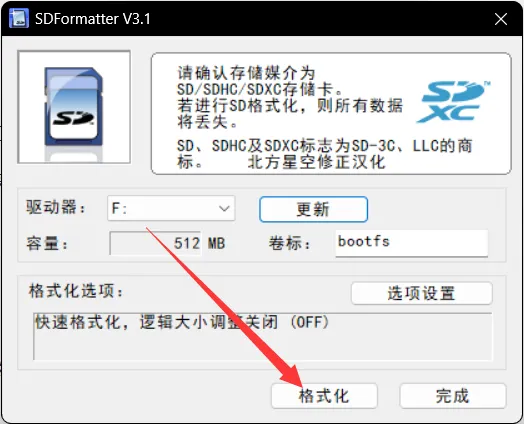
- Or use the built-in disk management in WIN to delete partitions, after deleting the partition, create a new partition.
Flashing to TF Card
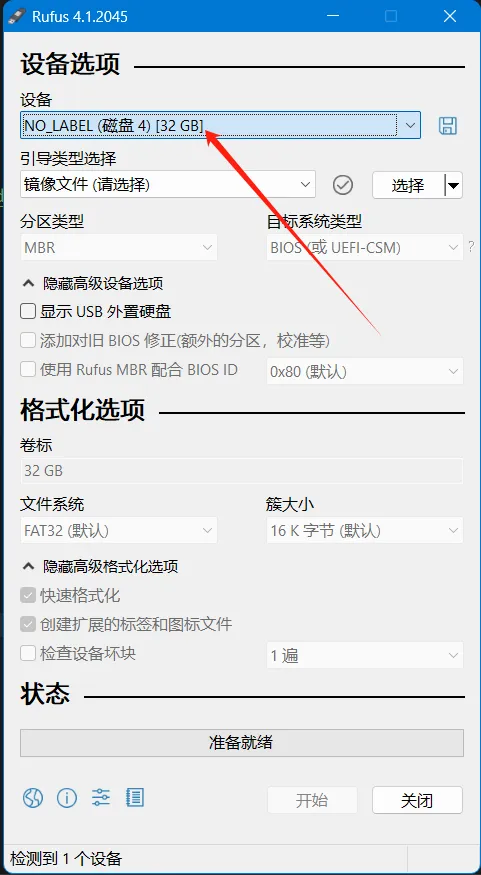
Flashing the System
-
Open Rufus, select the device. The displayed capacity should match the capacity of the SD card inserted into the computer.
-
For
Boot selection, simply leave it set to the default option,Disk or ISO image. -
To select the image file, click the
Selectbutton to the right ofBoot selection, and choose the extracted.imgfile. -
After selecting the image file, the
Boot selectionfield will change to display the filename of the image.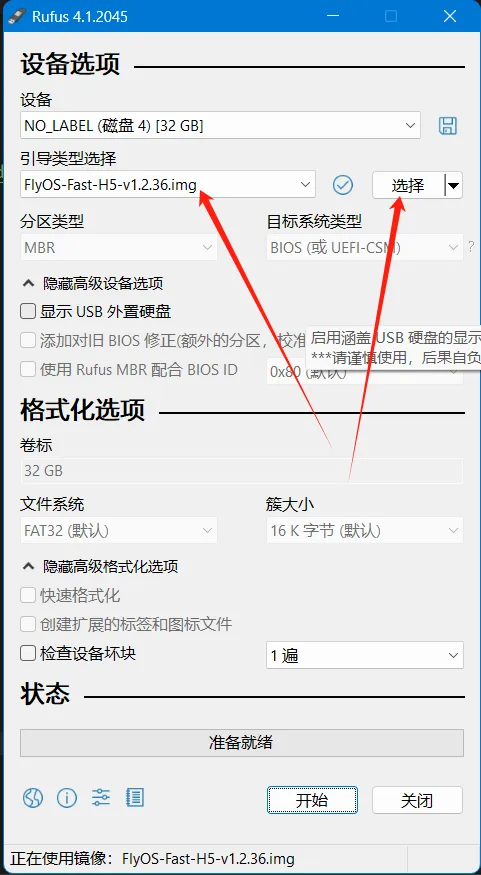
-
Click the
Startbutton. If a window pops up indicating that the disk data needs to be erased, clickOK.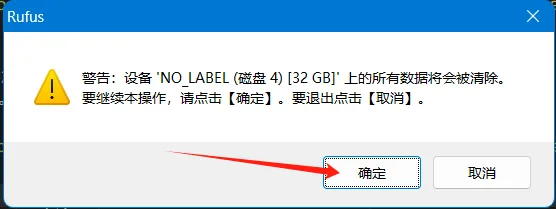
-
Once the flashing process is complete, the computer will emit a prompt sound, and the progress bar will show
Ready.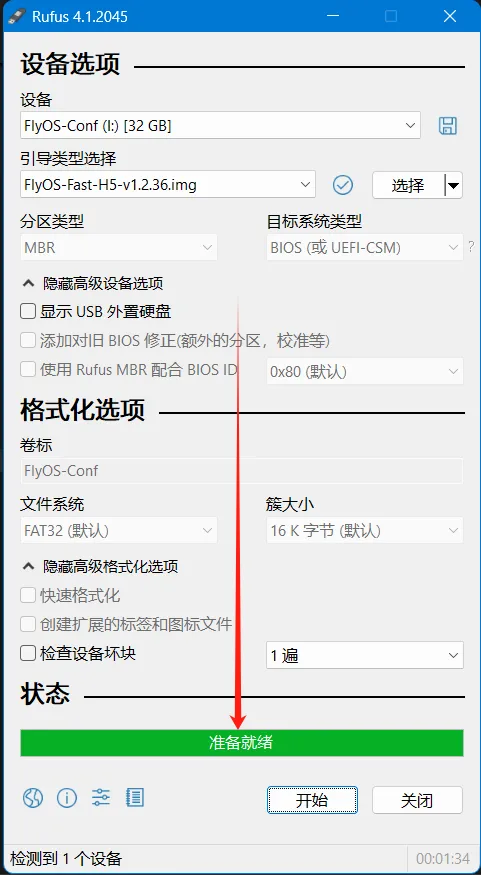
-
After flashing is complete, there is no need to immediately remove the SD card.
-
Open File Explorer and check if there is a USB drive or removable disk named
BOOT.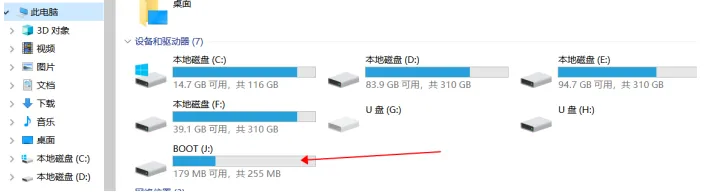
-
The appearance of the
FlyOS-envfile indicates that the flashing was successful. -
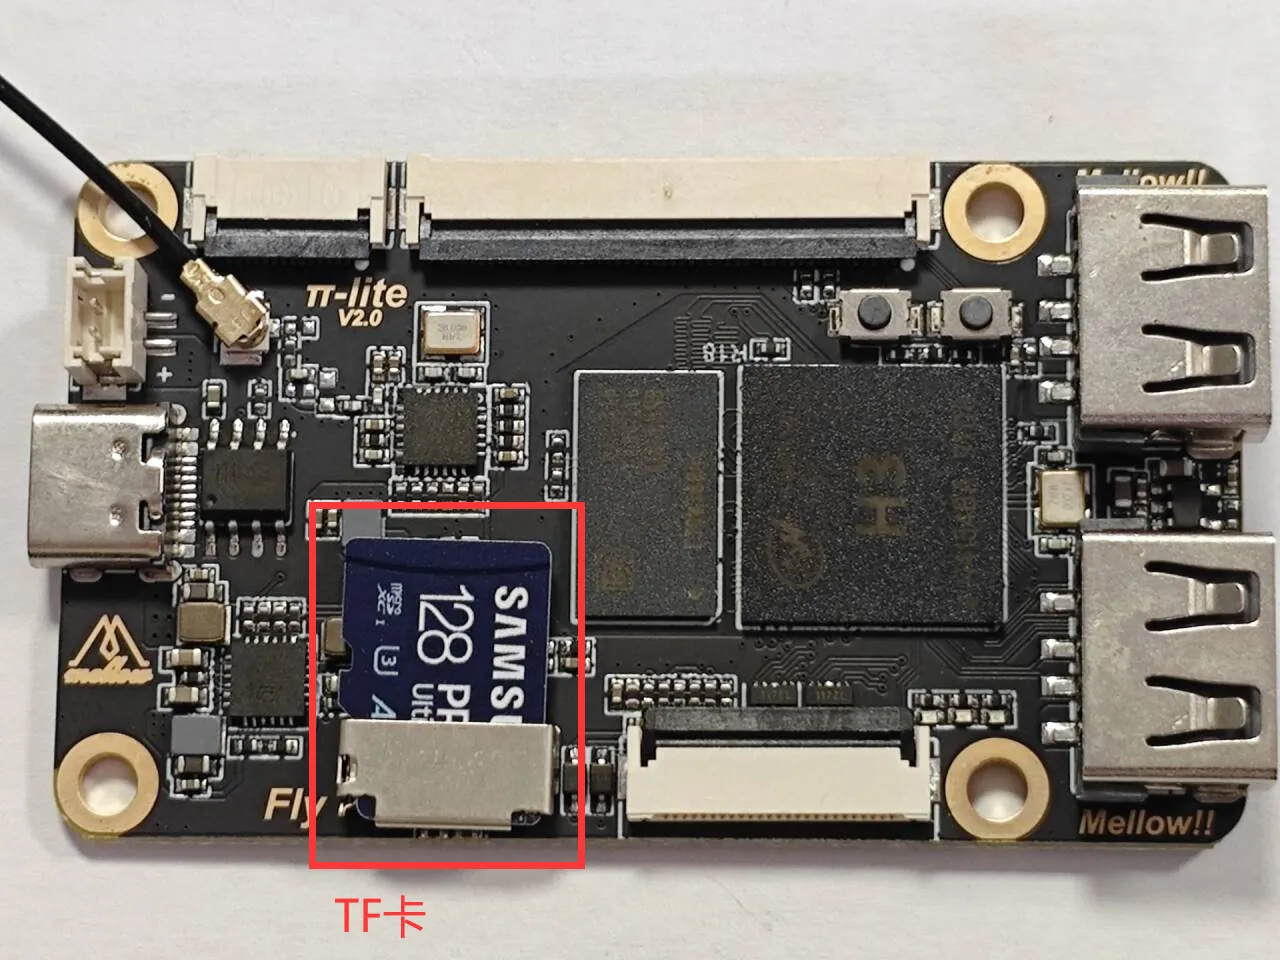
Install the SD card into the motherboard.
Installing the System Card
- After flashing the system to the TF card, it must be connected to the Lite2.1 board, otherwise the system cannot boot
Installing the Antenna
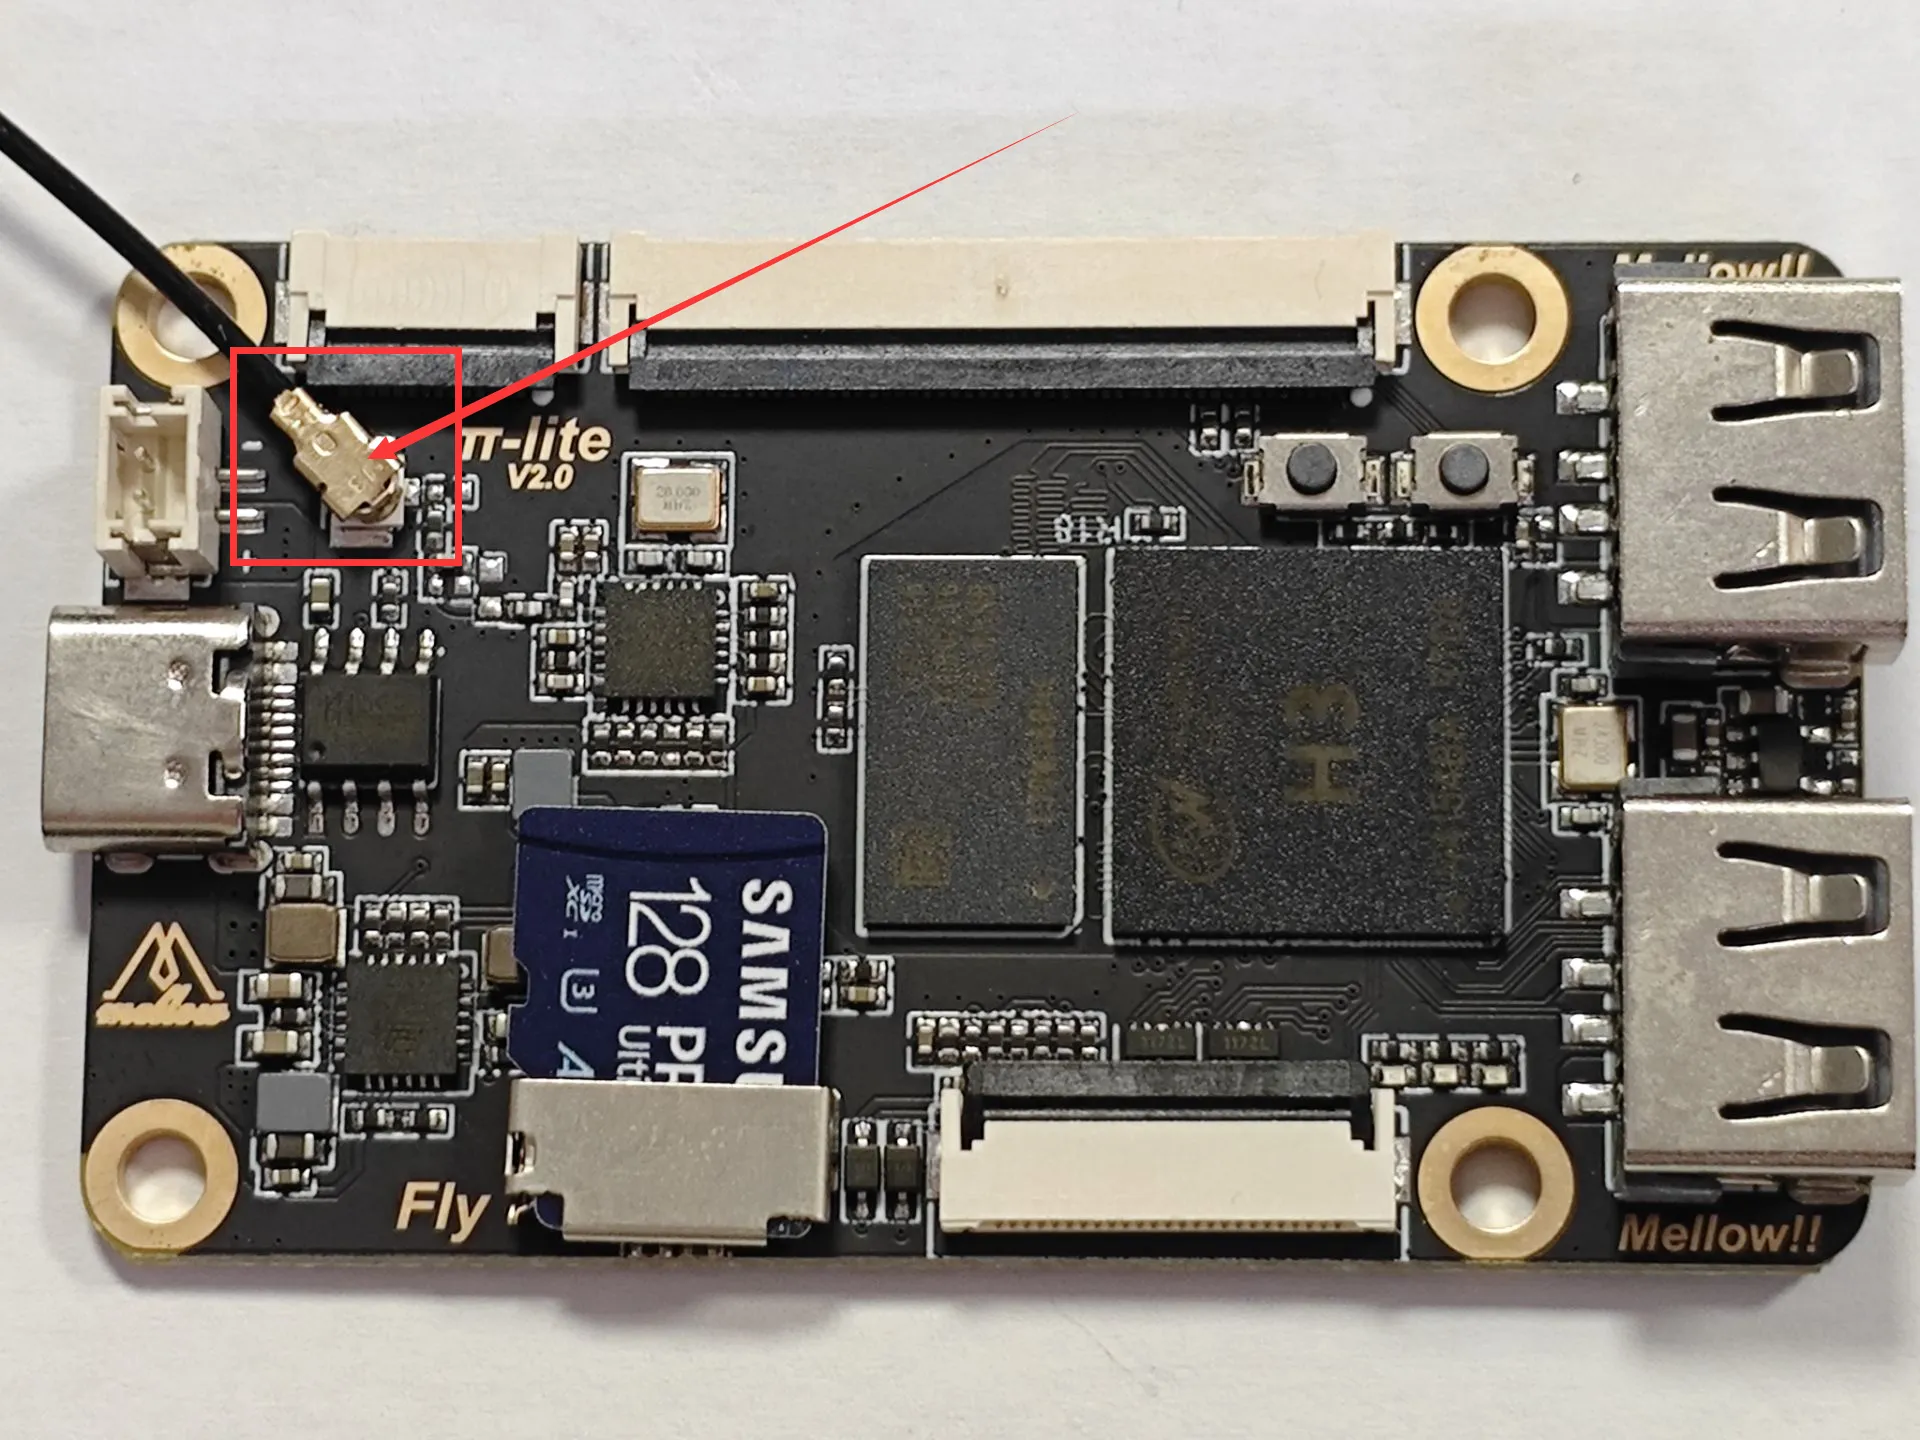
- Install the antenna properly
- Please note that the host machine does not support WiFi with Chinese names, nor does it support 5G WiFi
- The red arrow indicates the WiFi antenna interface
- The WiFi antenna port is
ipex1 - Please install the antenna; otherwise, poor signal may result in failure to connect to the router
- After installing the system card, proceed to the next step, connecting to the host machine via SSH
- Power the host machine.
At this point, your host machine is ready to boot!!!
Please proceed to the next step: SSH Connect to Host Machine