RS232 Connection
RS232 standard interface (also known as EIA RS-232) is one of the commonly used serial communication interface standards, widely applied in data transmission between various devices. Its stability and reliability make it a preferred communication method for many devices. The protocol uses signal levels different from standard 5V to transmit wire data, which can minimize signal interference to the greatest extent. In 3D printer systems, RS232 has higher data transfer rates, better stability, simpler configuration, and better compatibility with host computers compared to CAN.
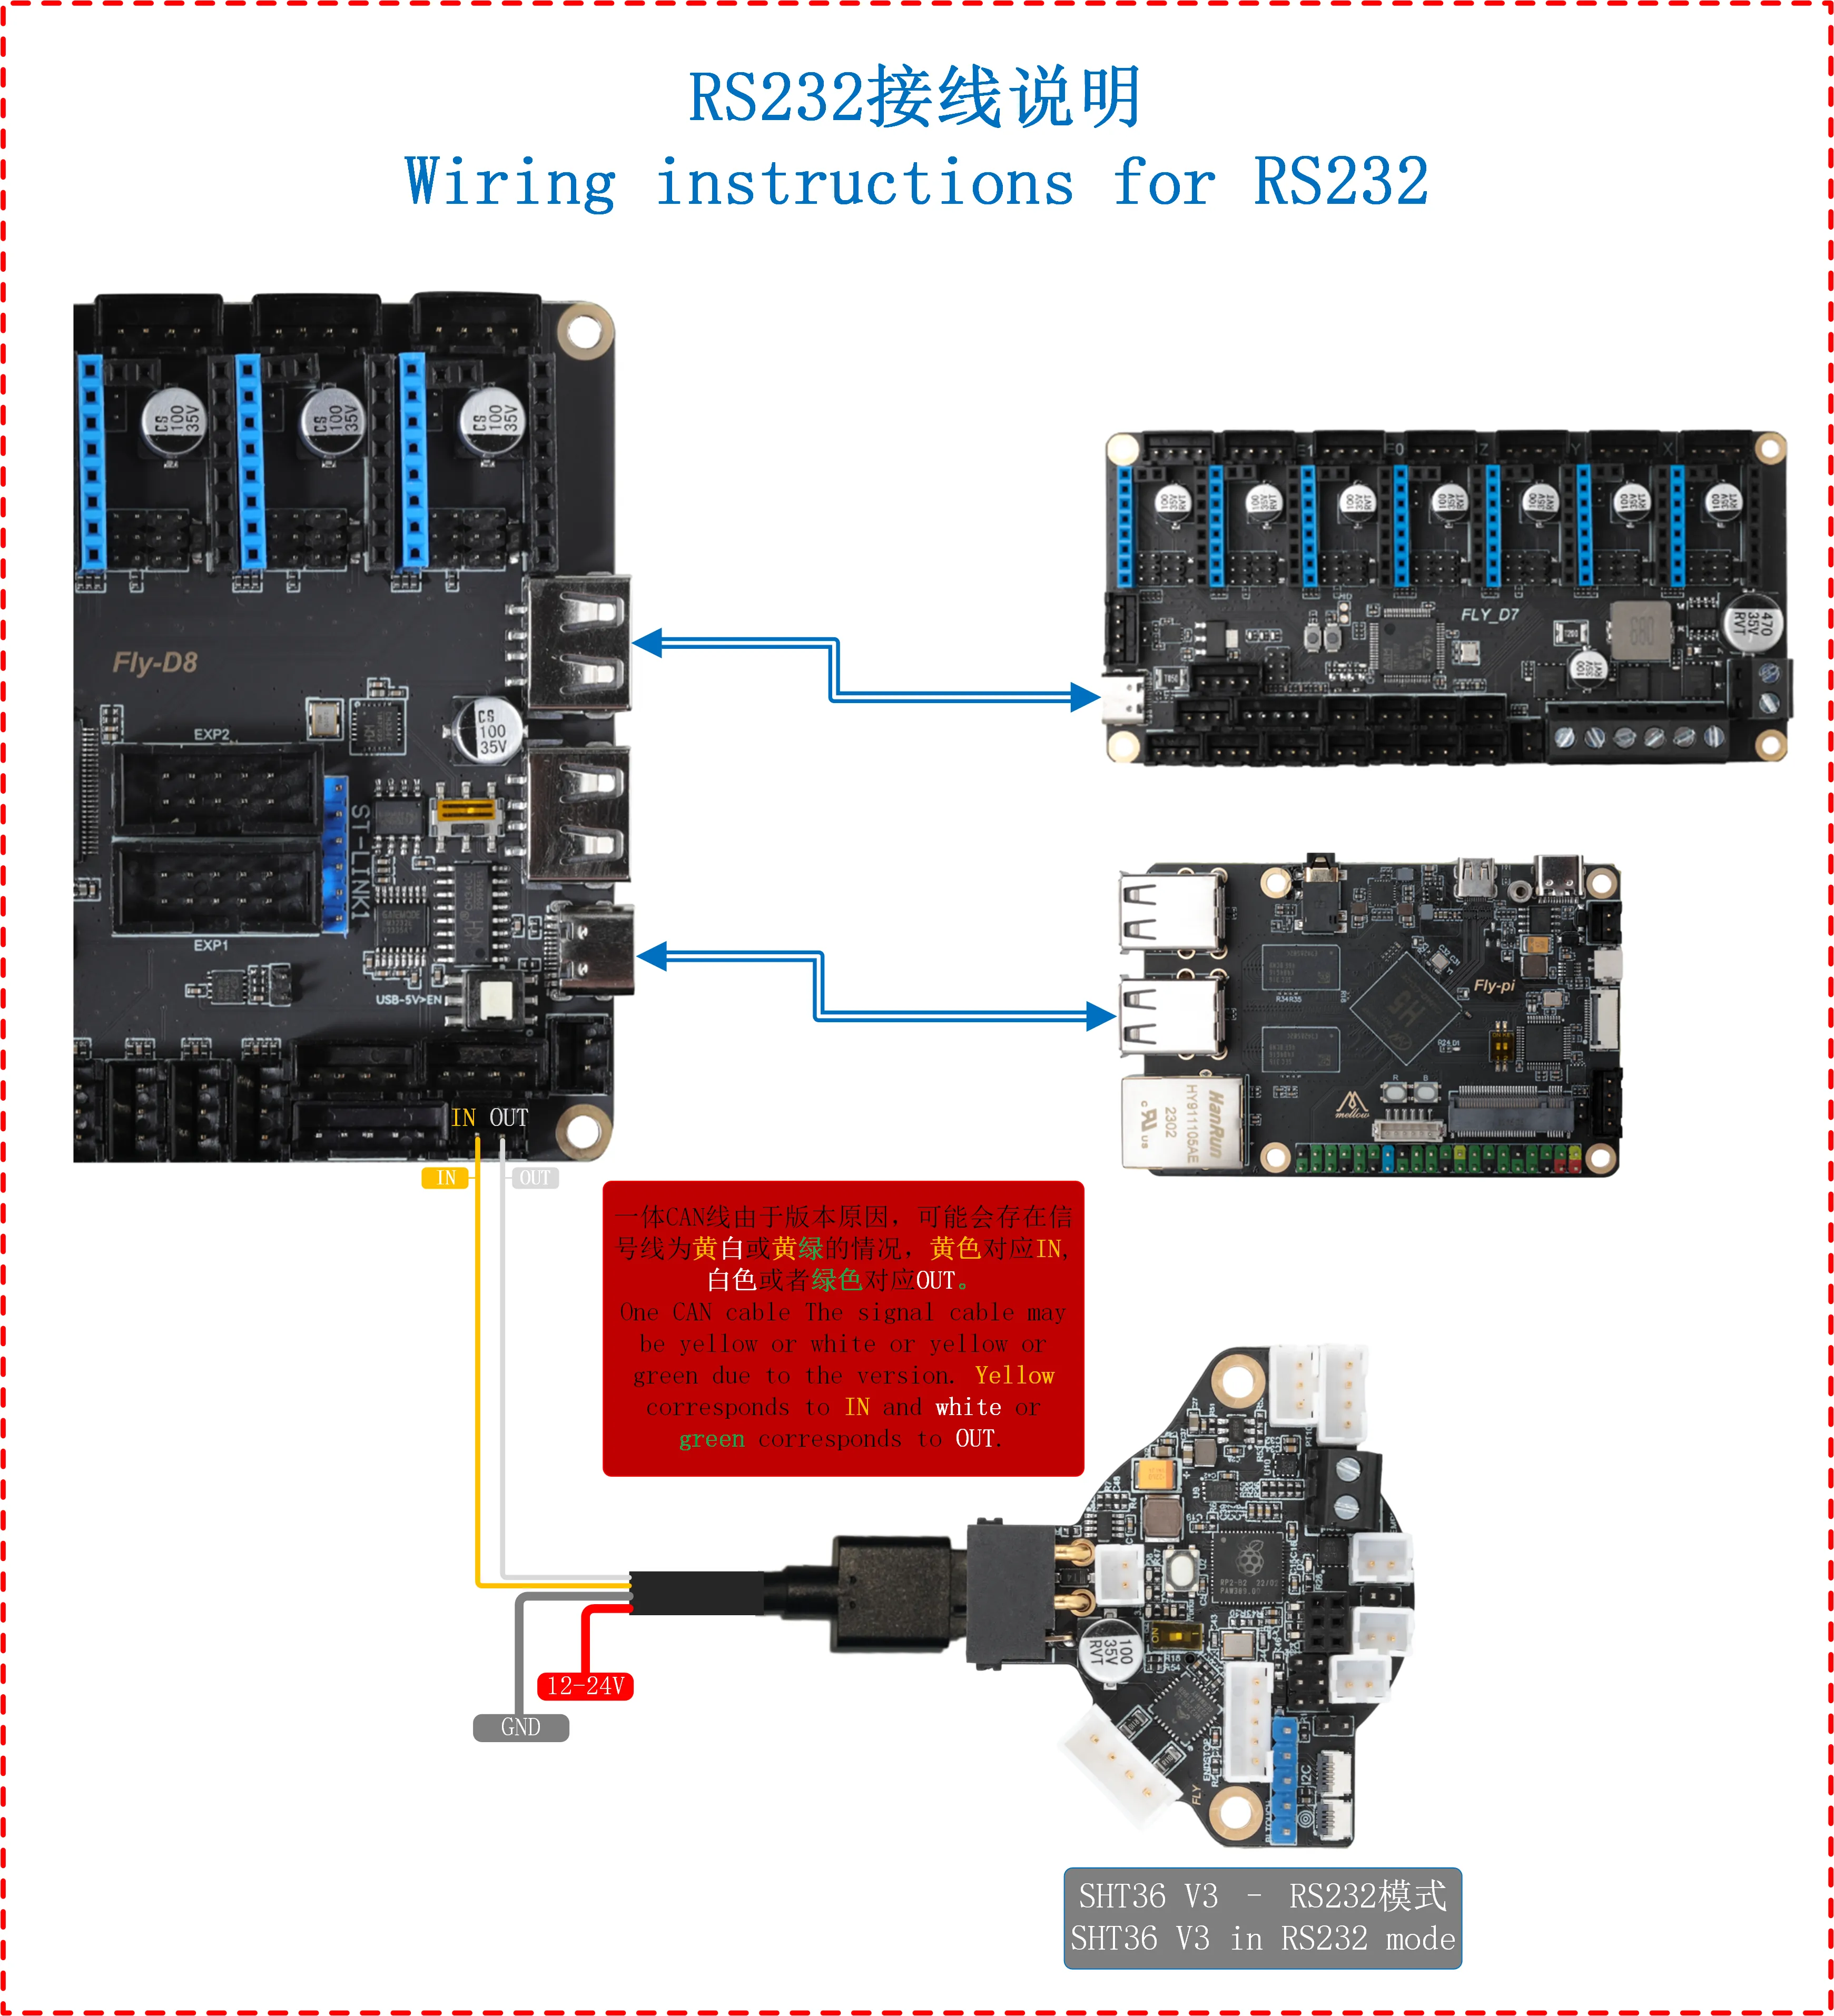
Tool Board Uses RS232 to Connect to Mainboard
-
Please note that the power line of the tool board is not connected to the RS232 signal line but to the 12V-24V power line.
-
No recompilation of the D8 mainboard firmware is required.
Search for RS232 ID
Notes Before Searching for Devices
- Before searching for the RS232 ID, please ensure the following conditions are met:
- Please ensure the tool board has already been flashed with RS232 firmware.
- Please ensure the tool board is connected to UTOR or G2T (if the main board has built-in RS232, please ignore this line).
- Please ensure the tool board and host computer share a common ground!!! This step is very important.
Search for RS232 ID
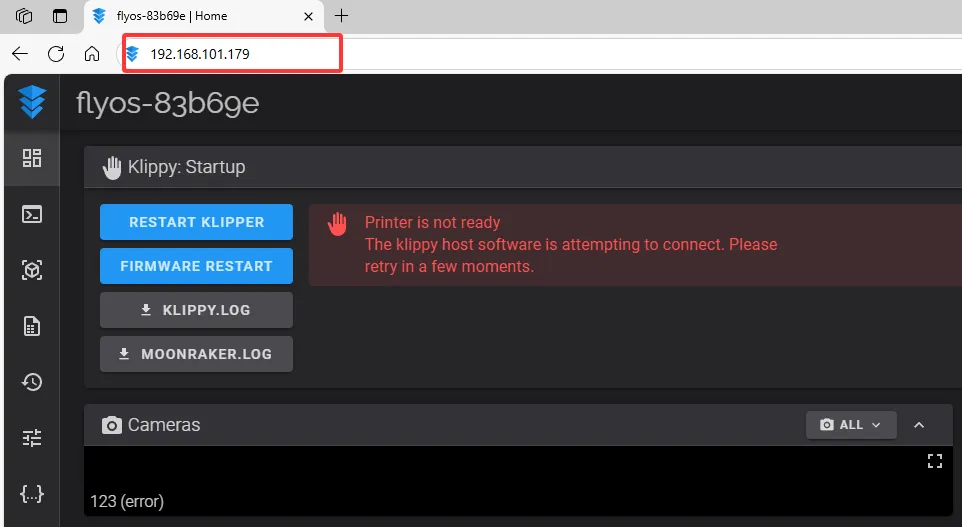
- Open your browser and enter the IP address of the host computer in the address bar. For example, if my host IP is
192.168.101.179, directly enter it and press Enter.
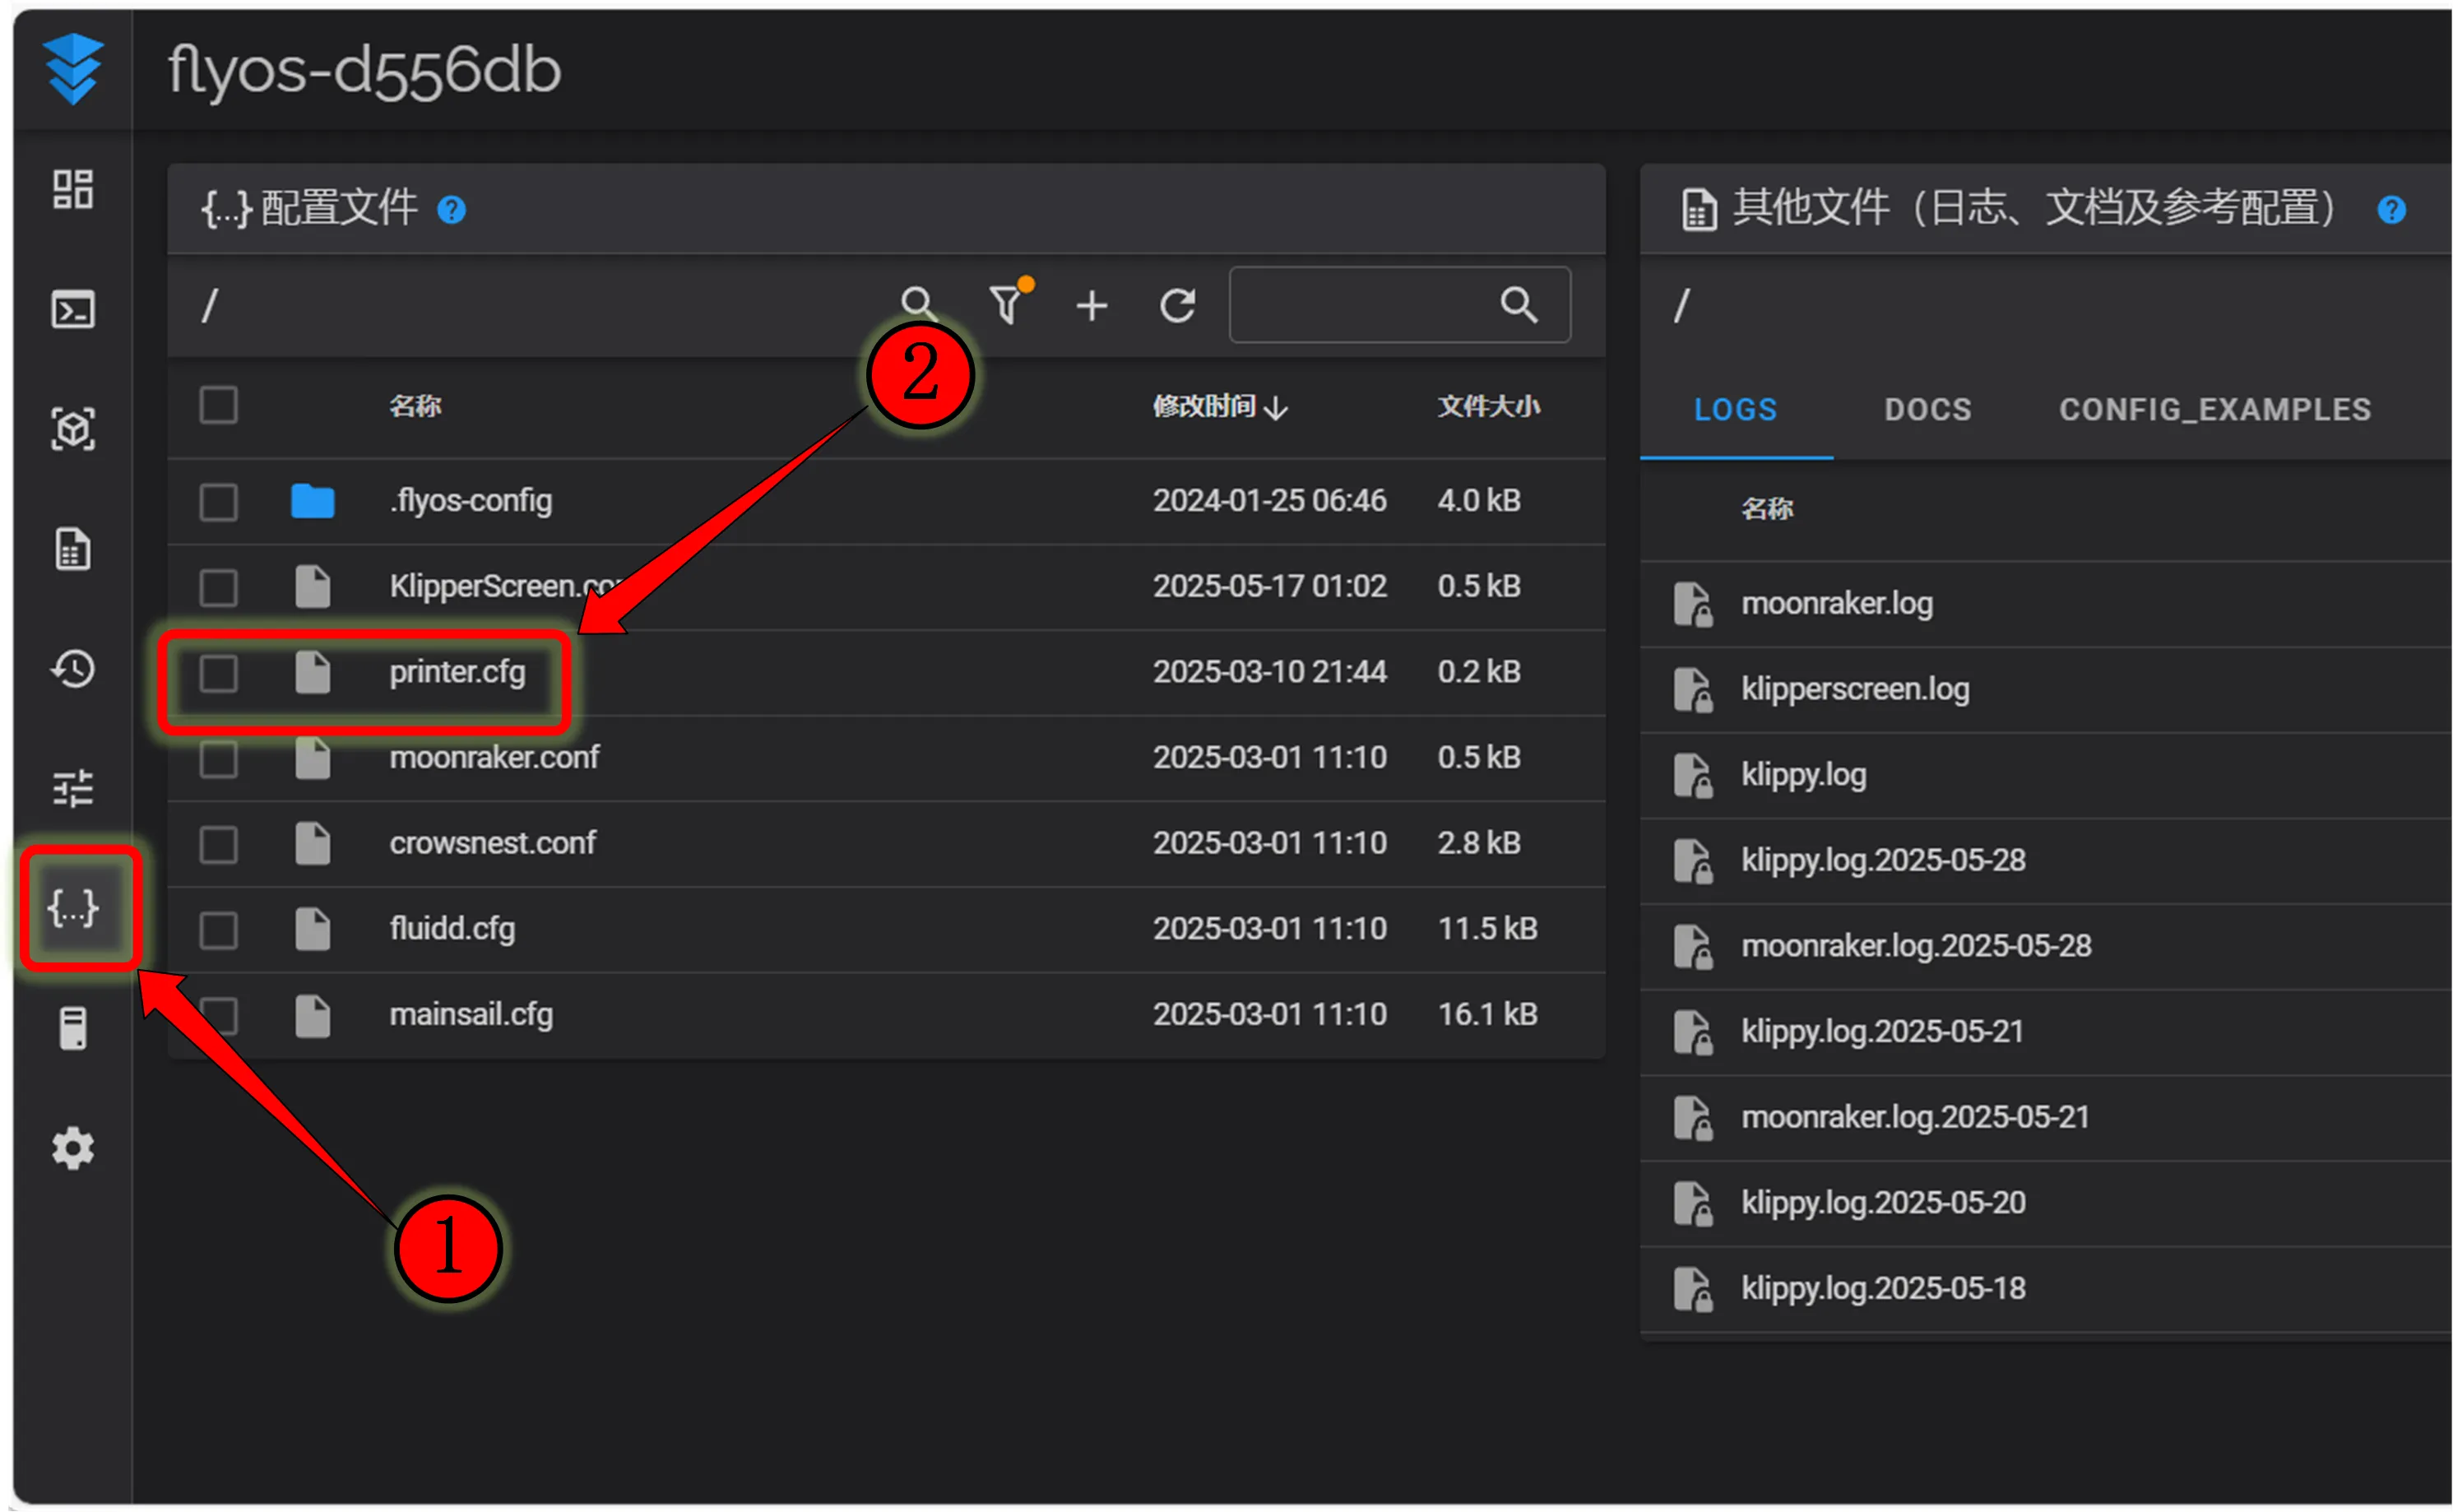
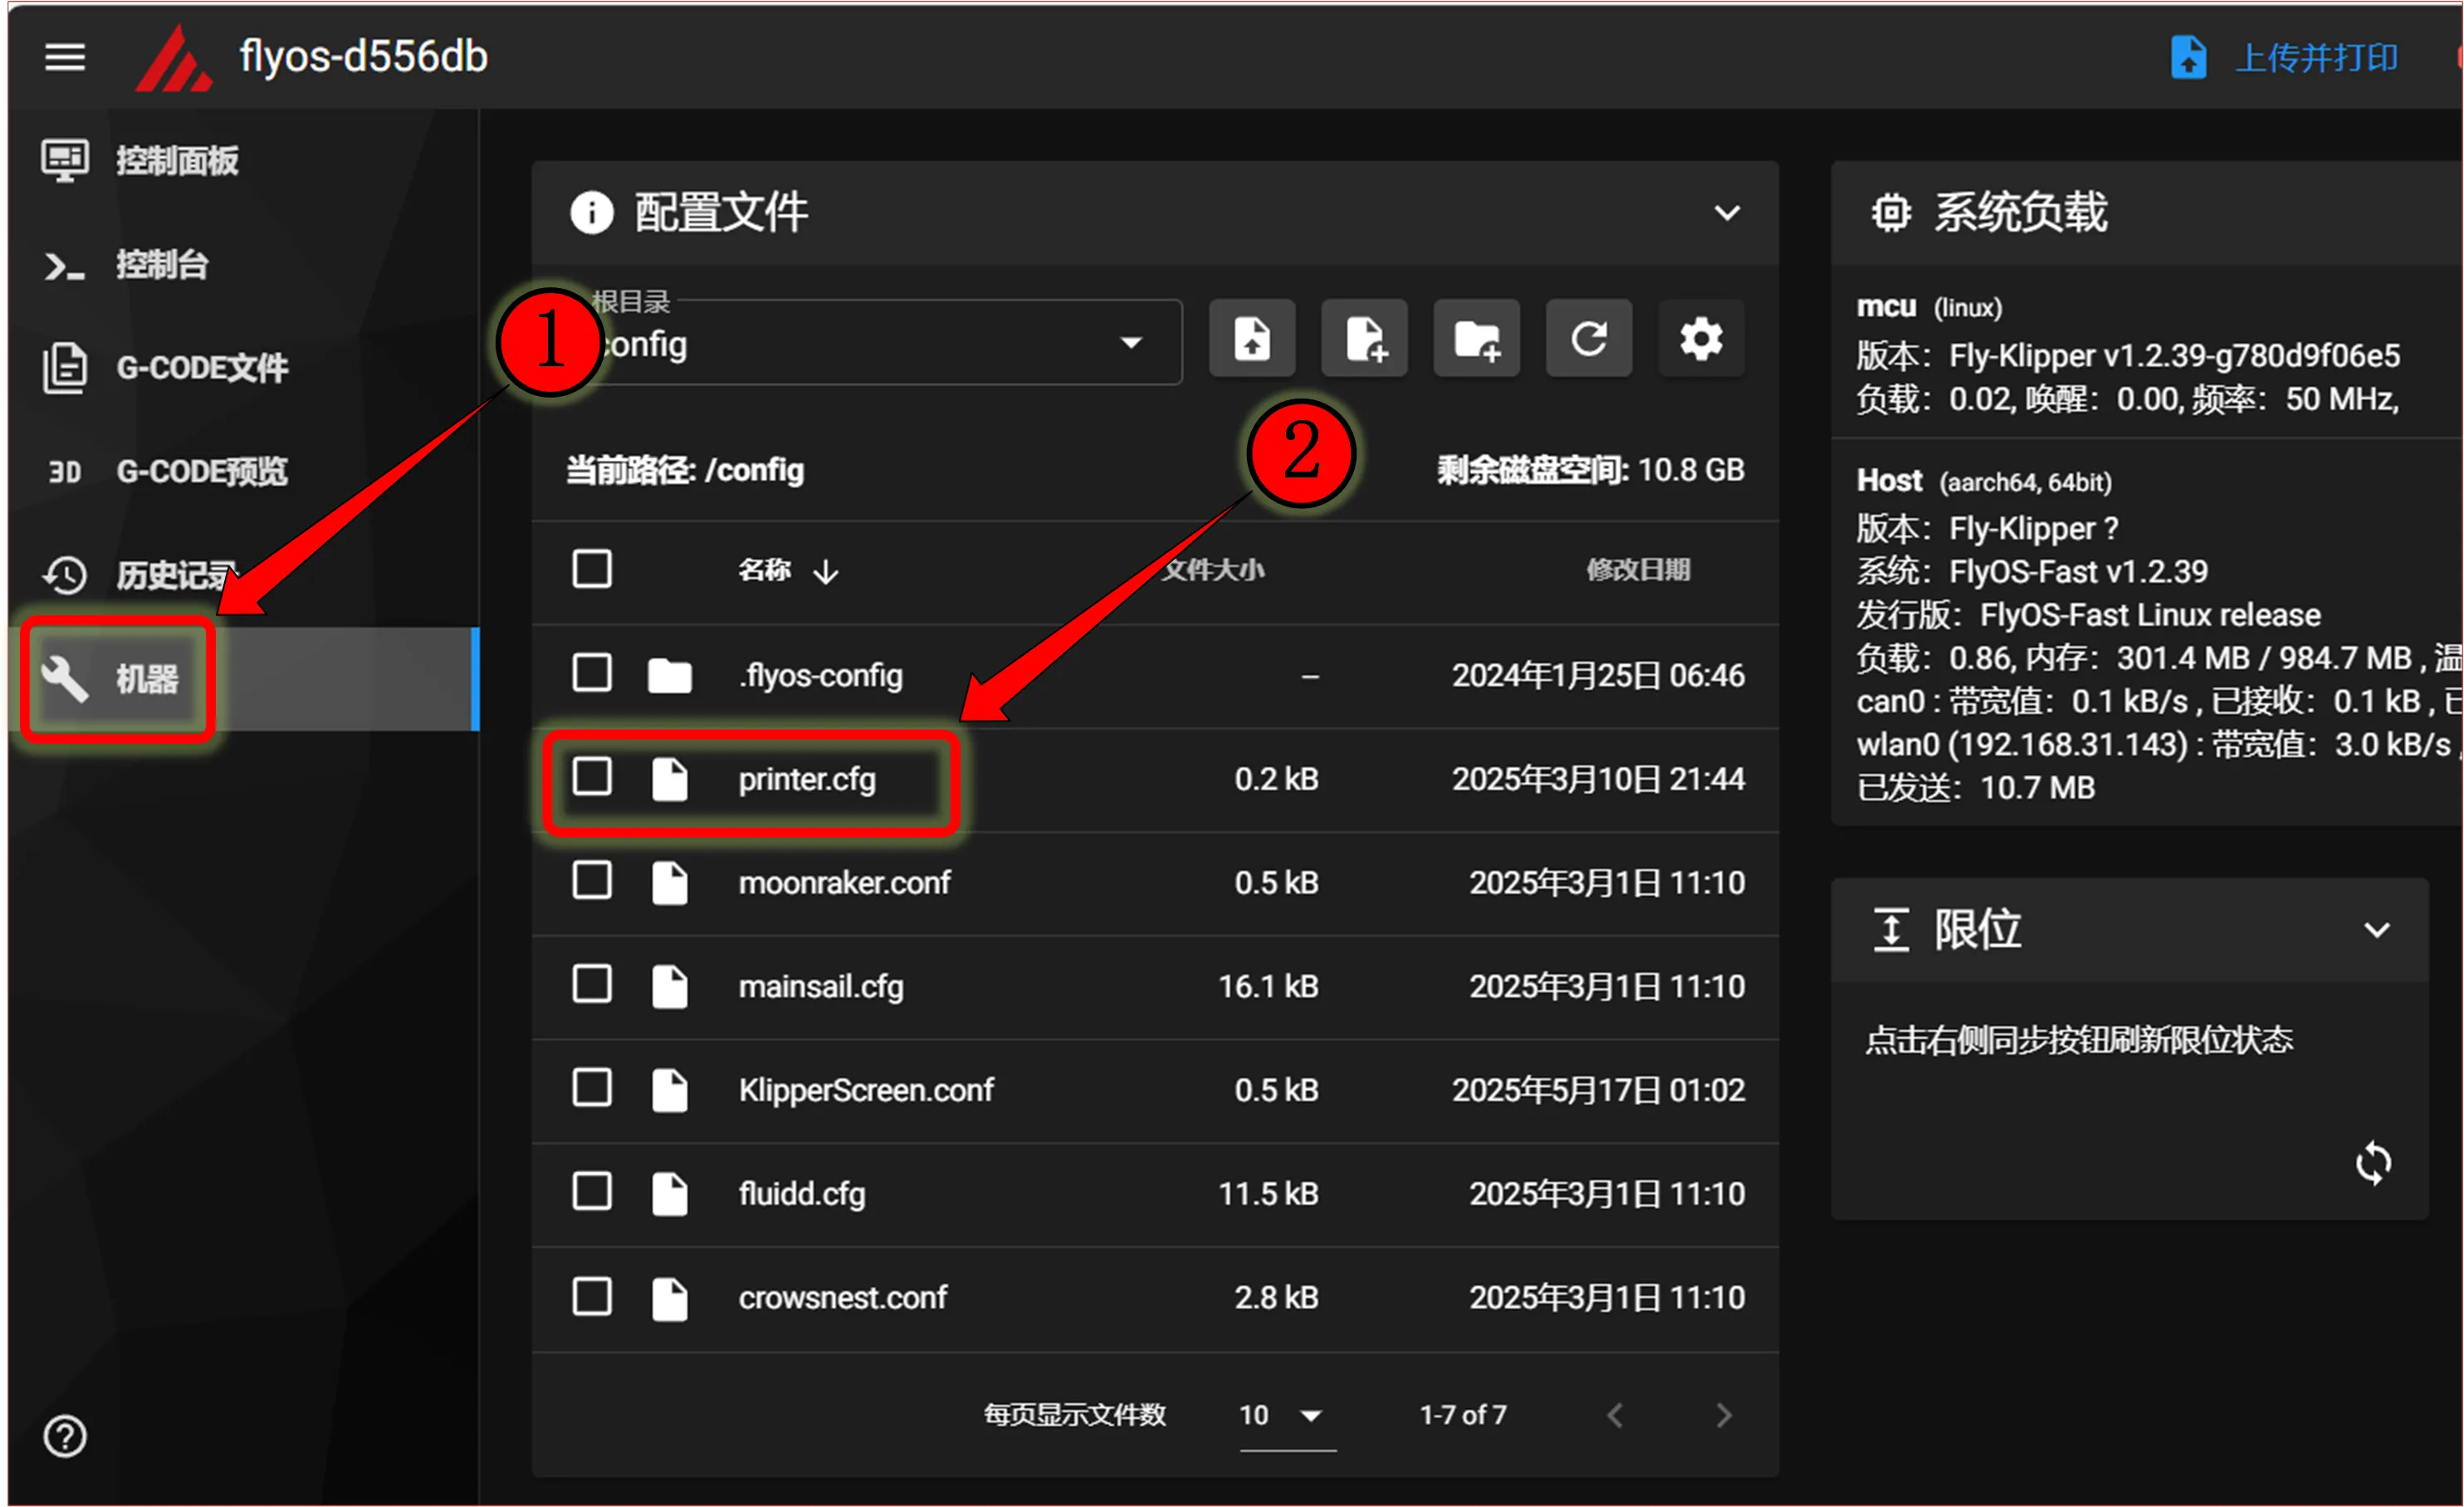
- Open the WEB interface of the host computer, and in the configuration section of the left sidebar, find:
 |
 |
-
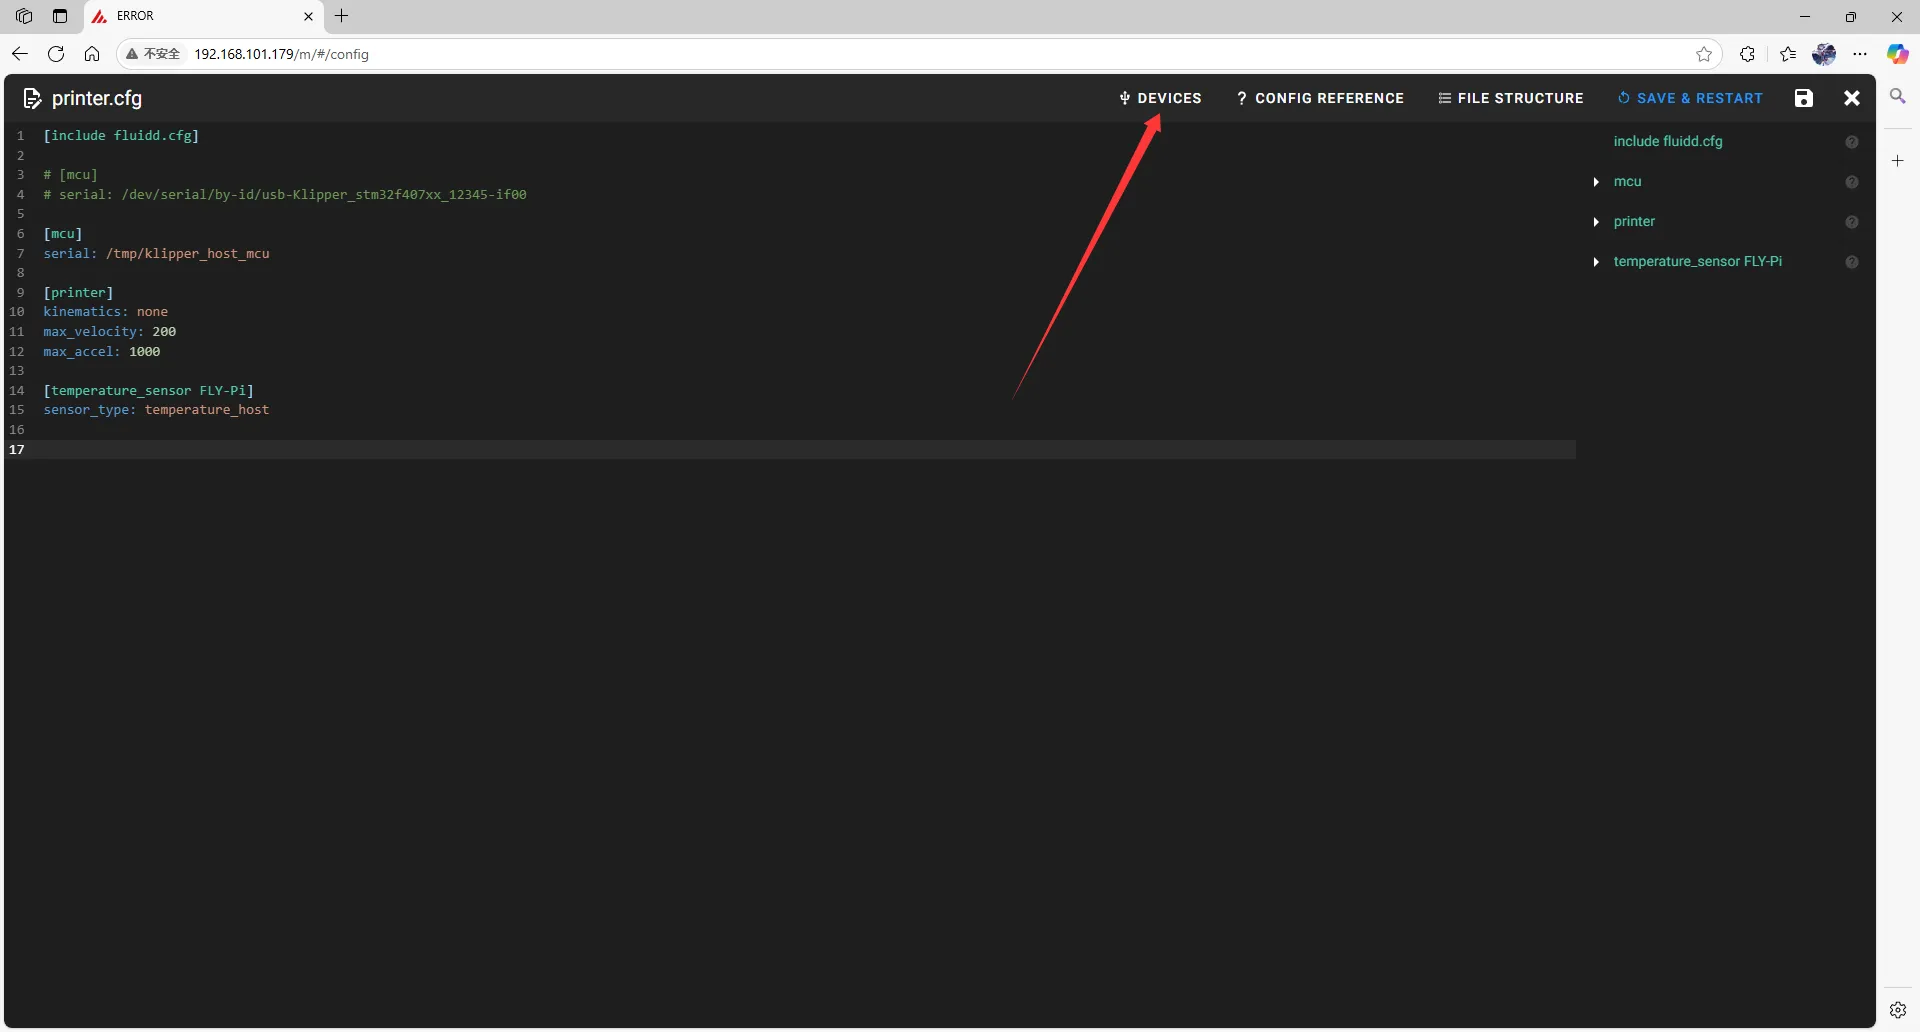
After entering
printer.cfg, click onDEVICESat the top right corner.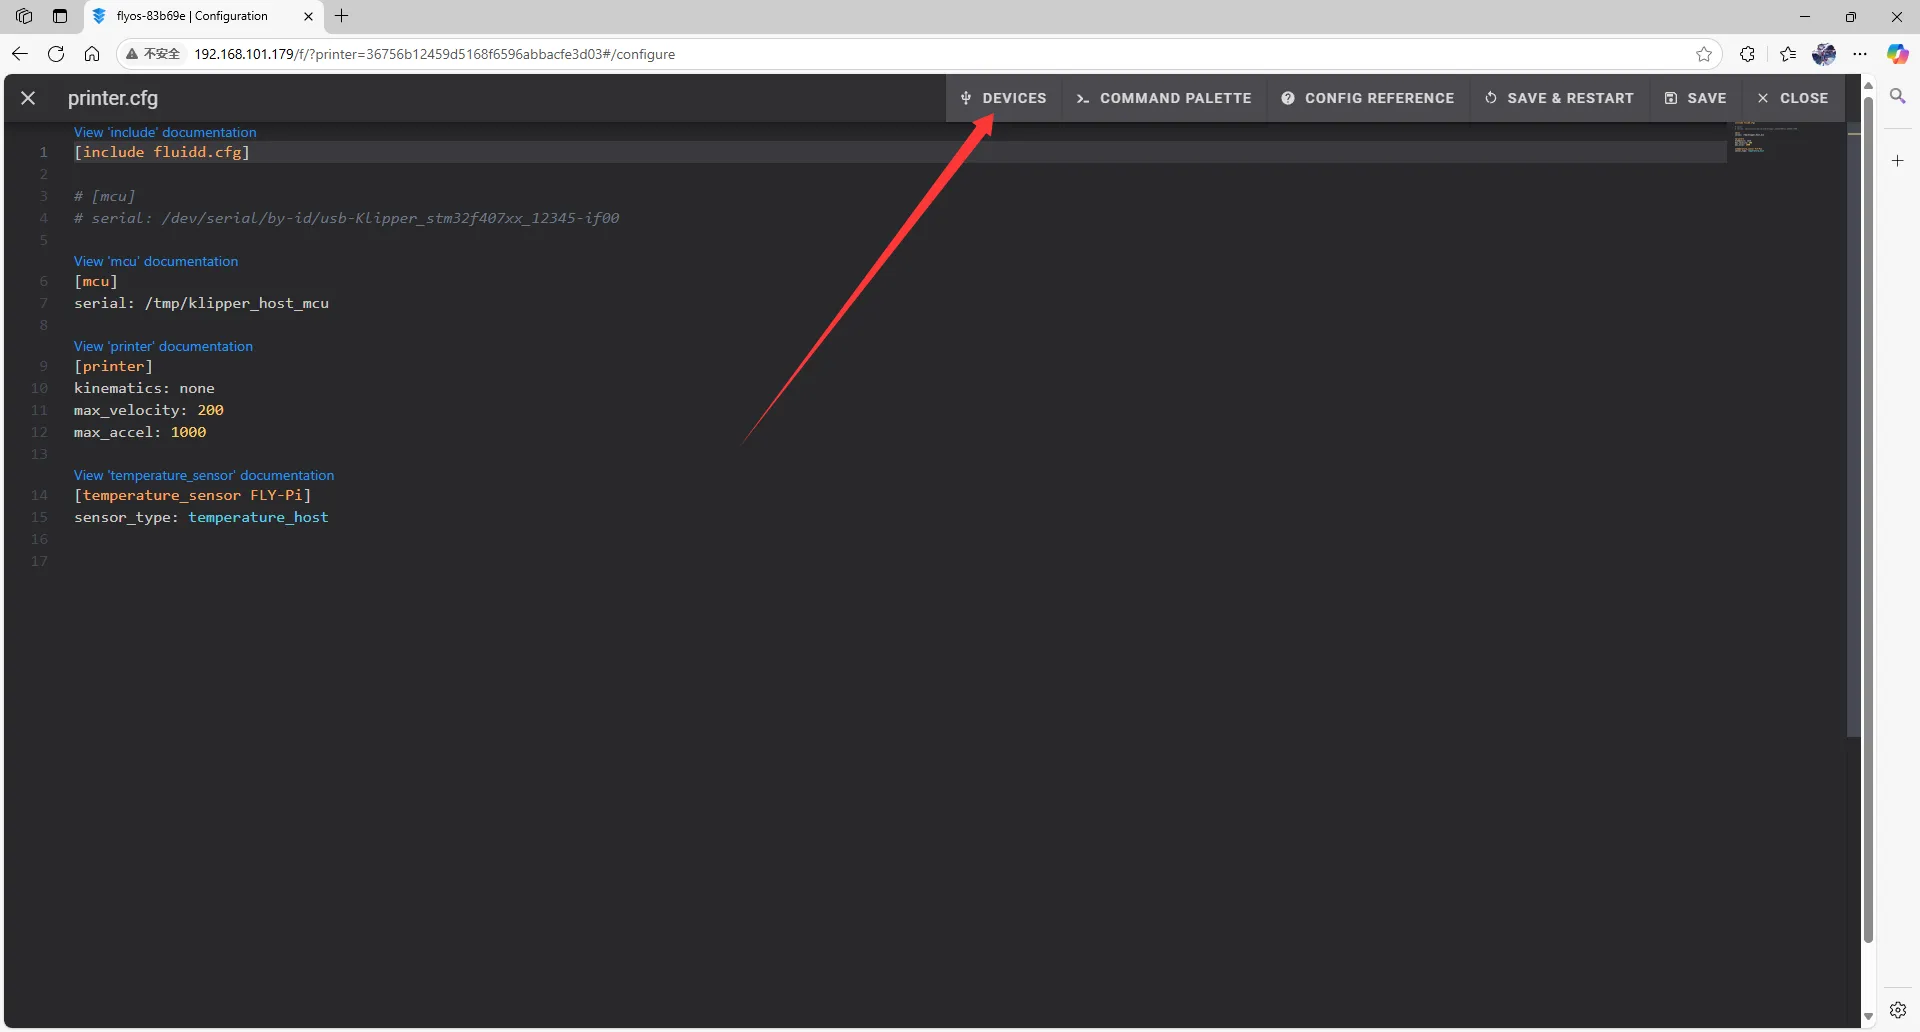
-
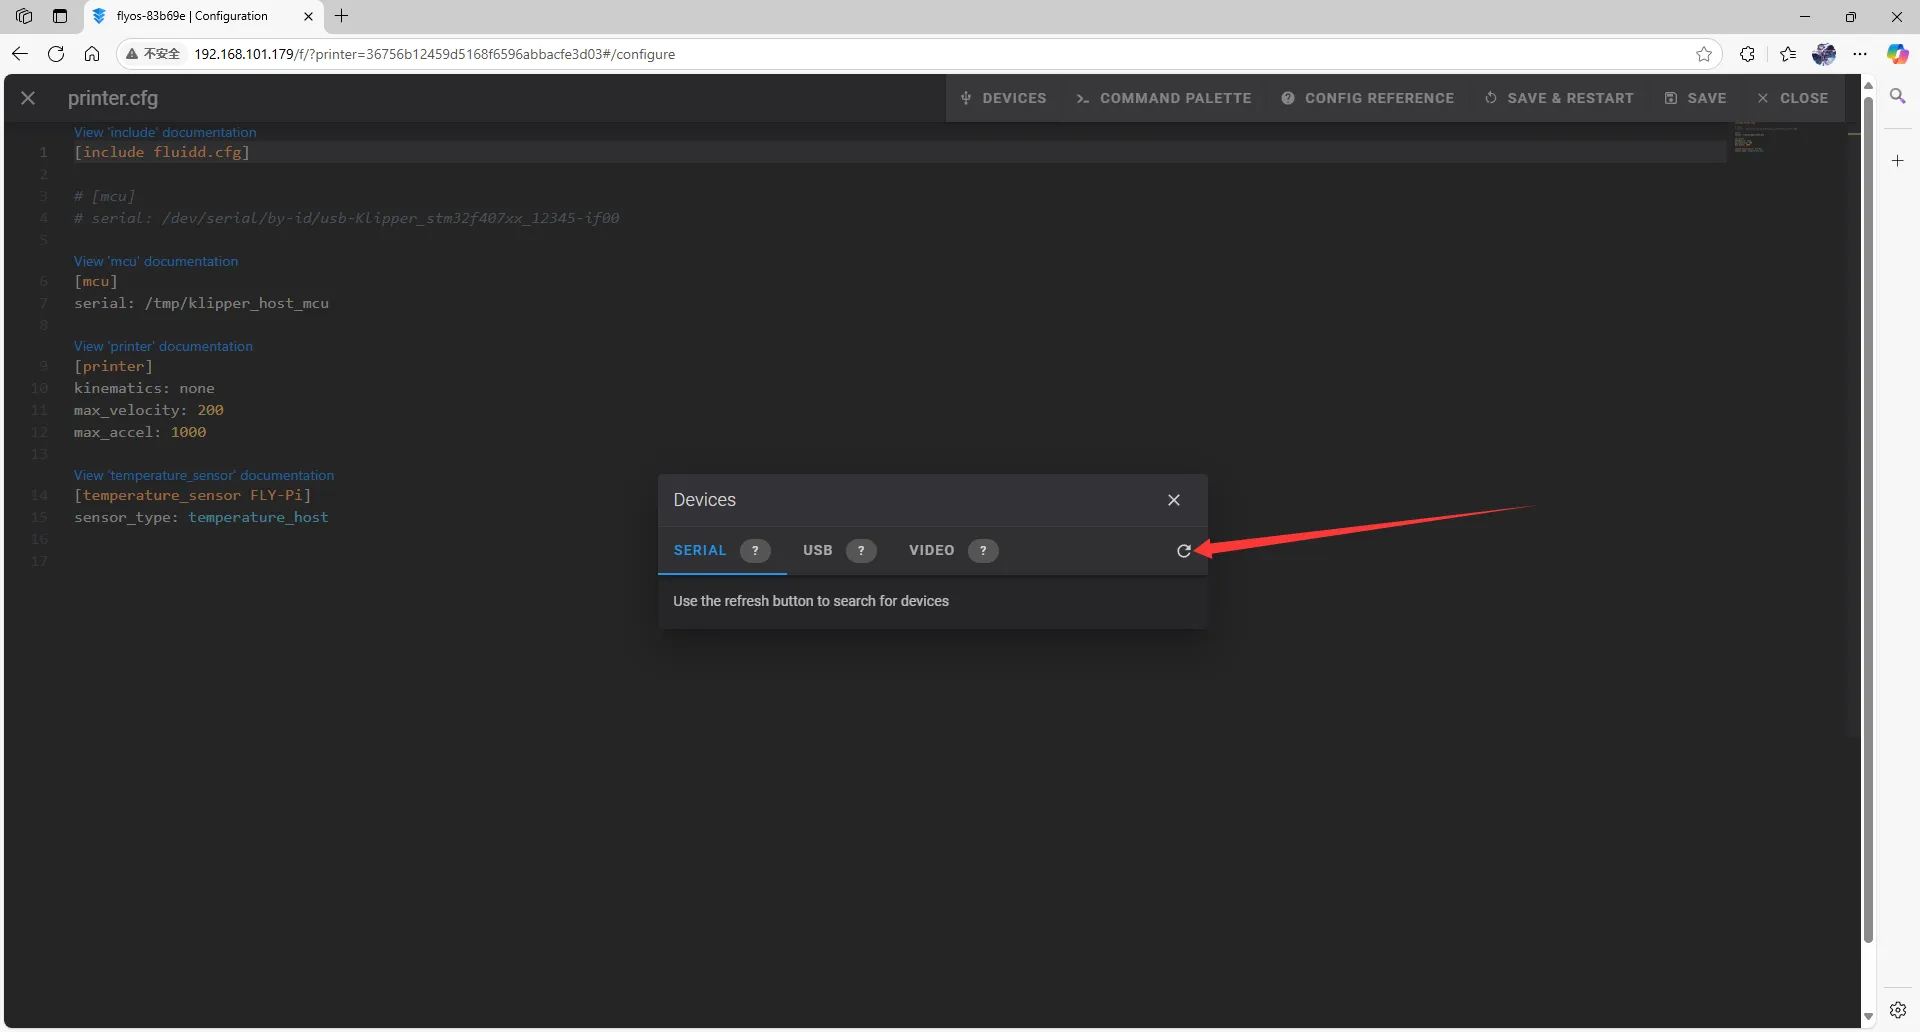
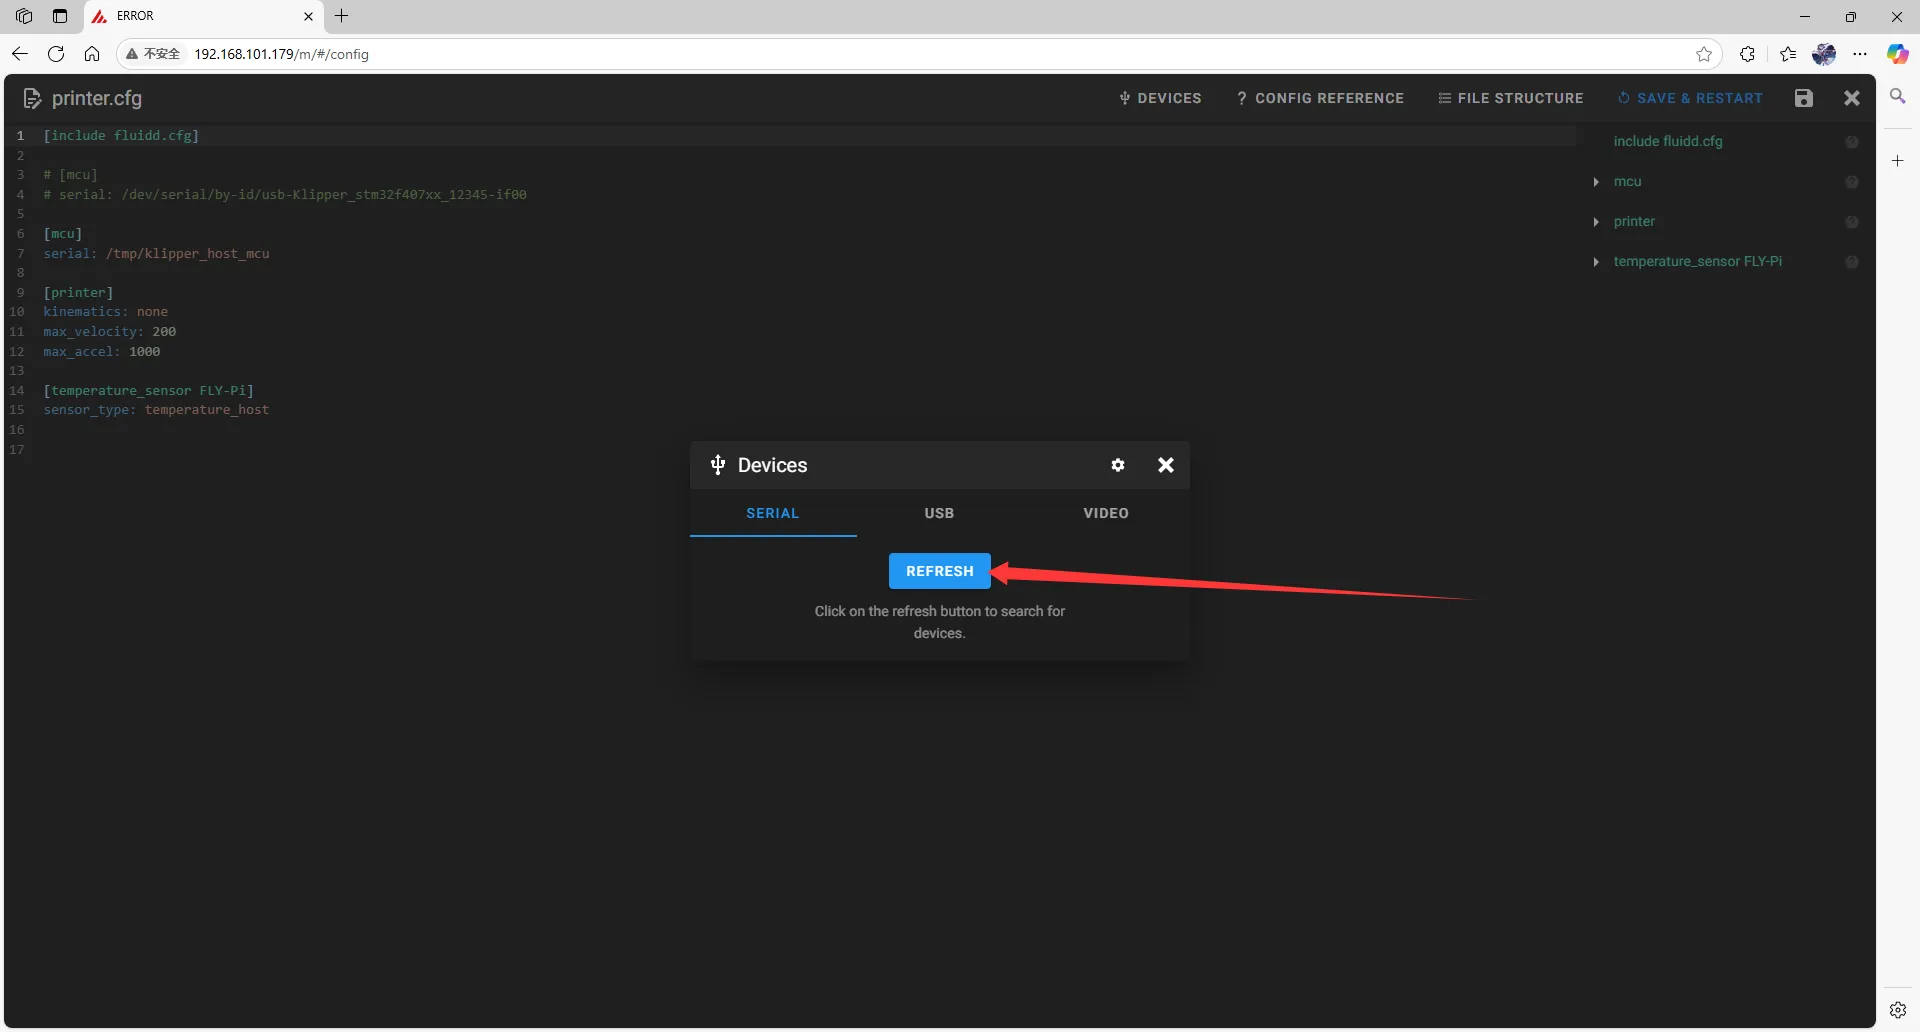
Click on
SERIAL, then refresh.- Refresh in fluidd
- Refresh in mainsail
-
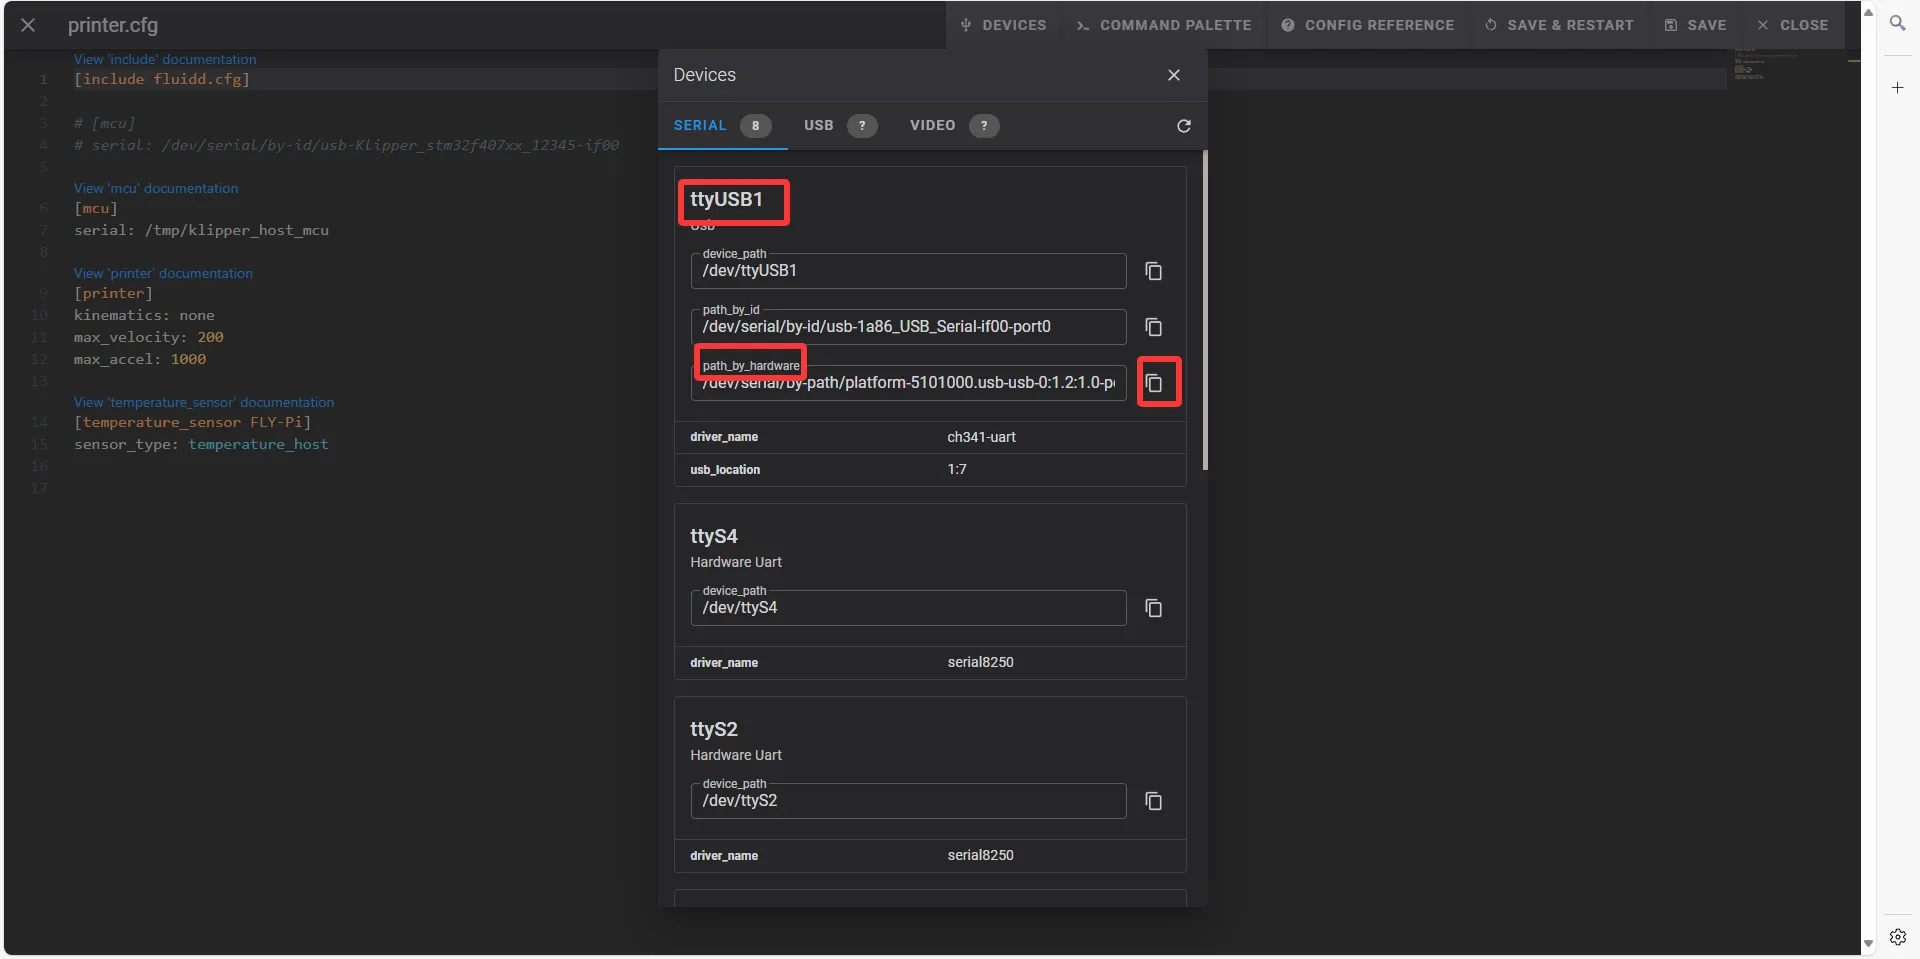
Copy the ID; click on the arrow to copy.
- In fluidd, check if
ttyUSBexists, and ensurePath_by_hardwareexists; this is the RS232_ID.
- In mainsail, check if
ttyUSBexists, and ensurePath_by_hardwareexists; this is the RS232_ID.

- In fluidd, check if
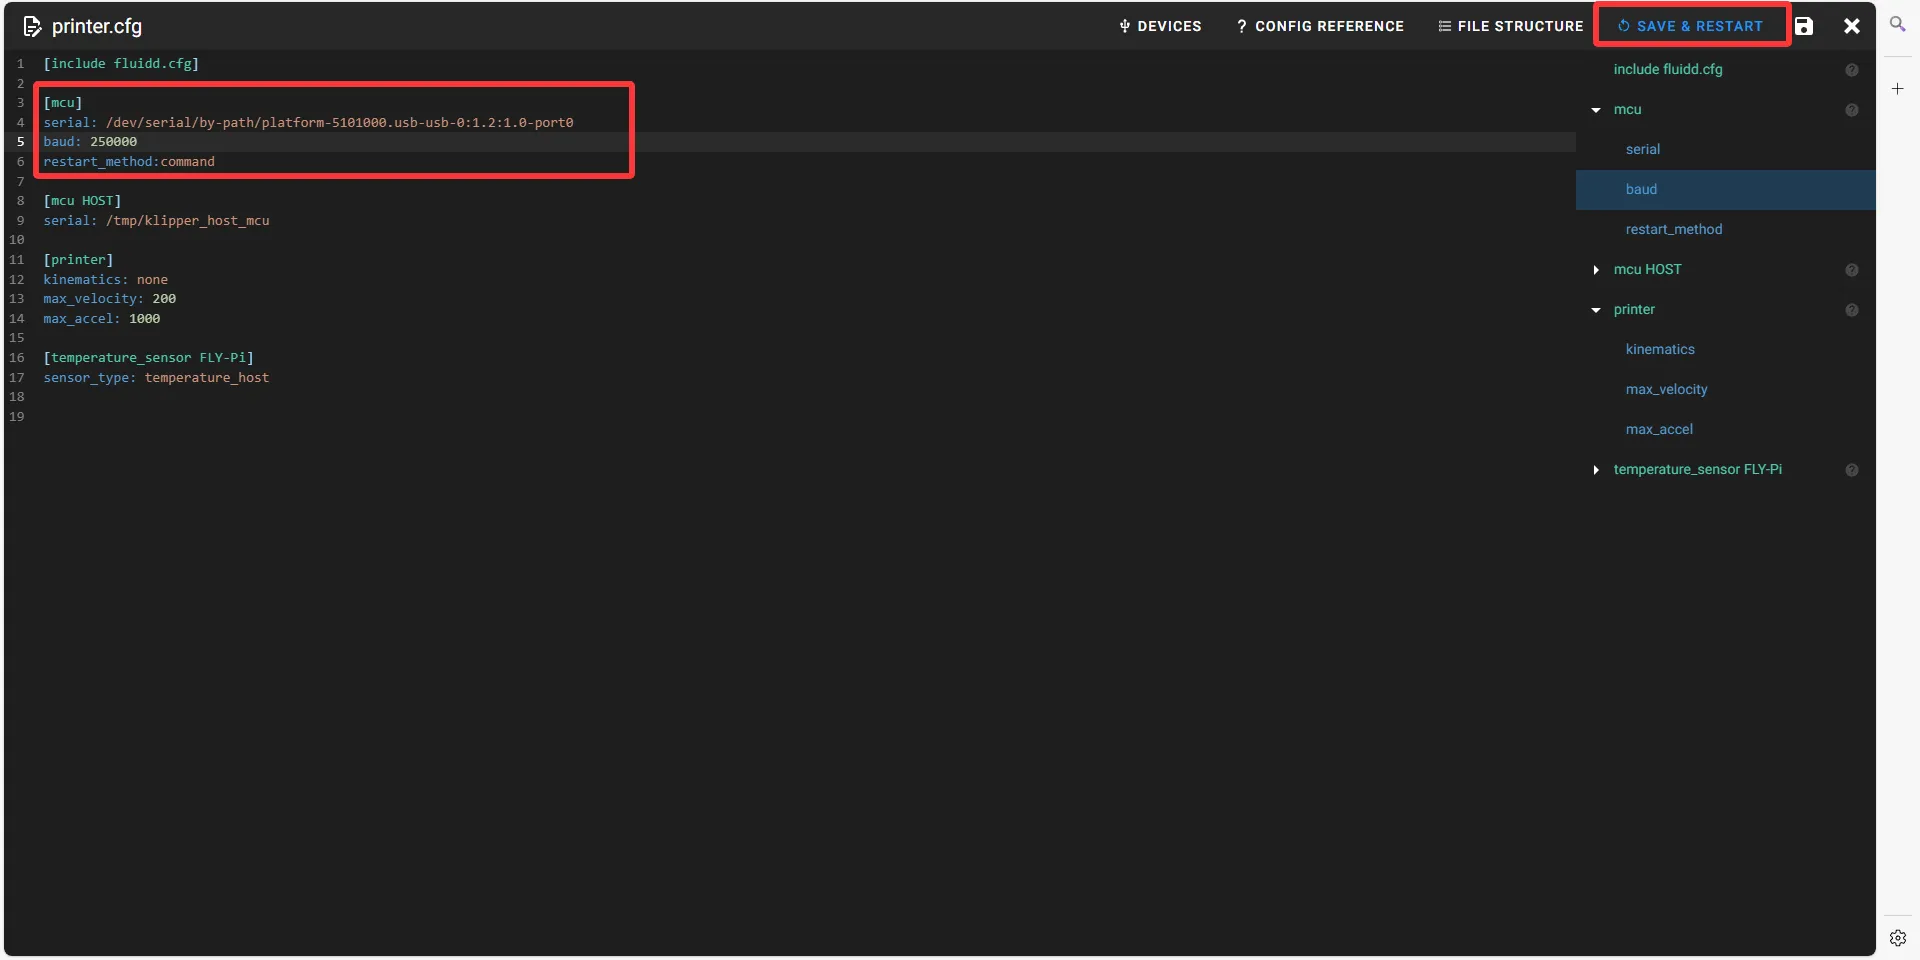
Fill in the RS232 ID
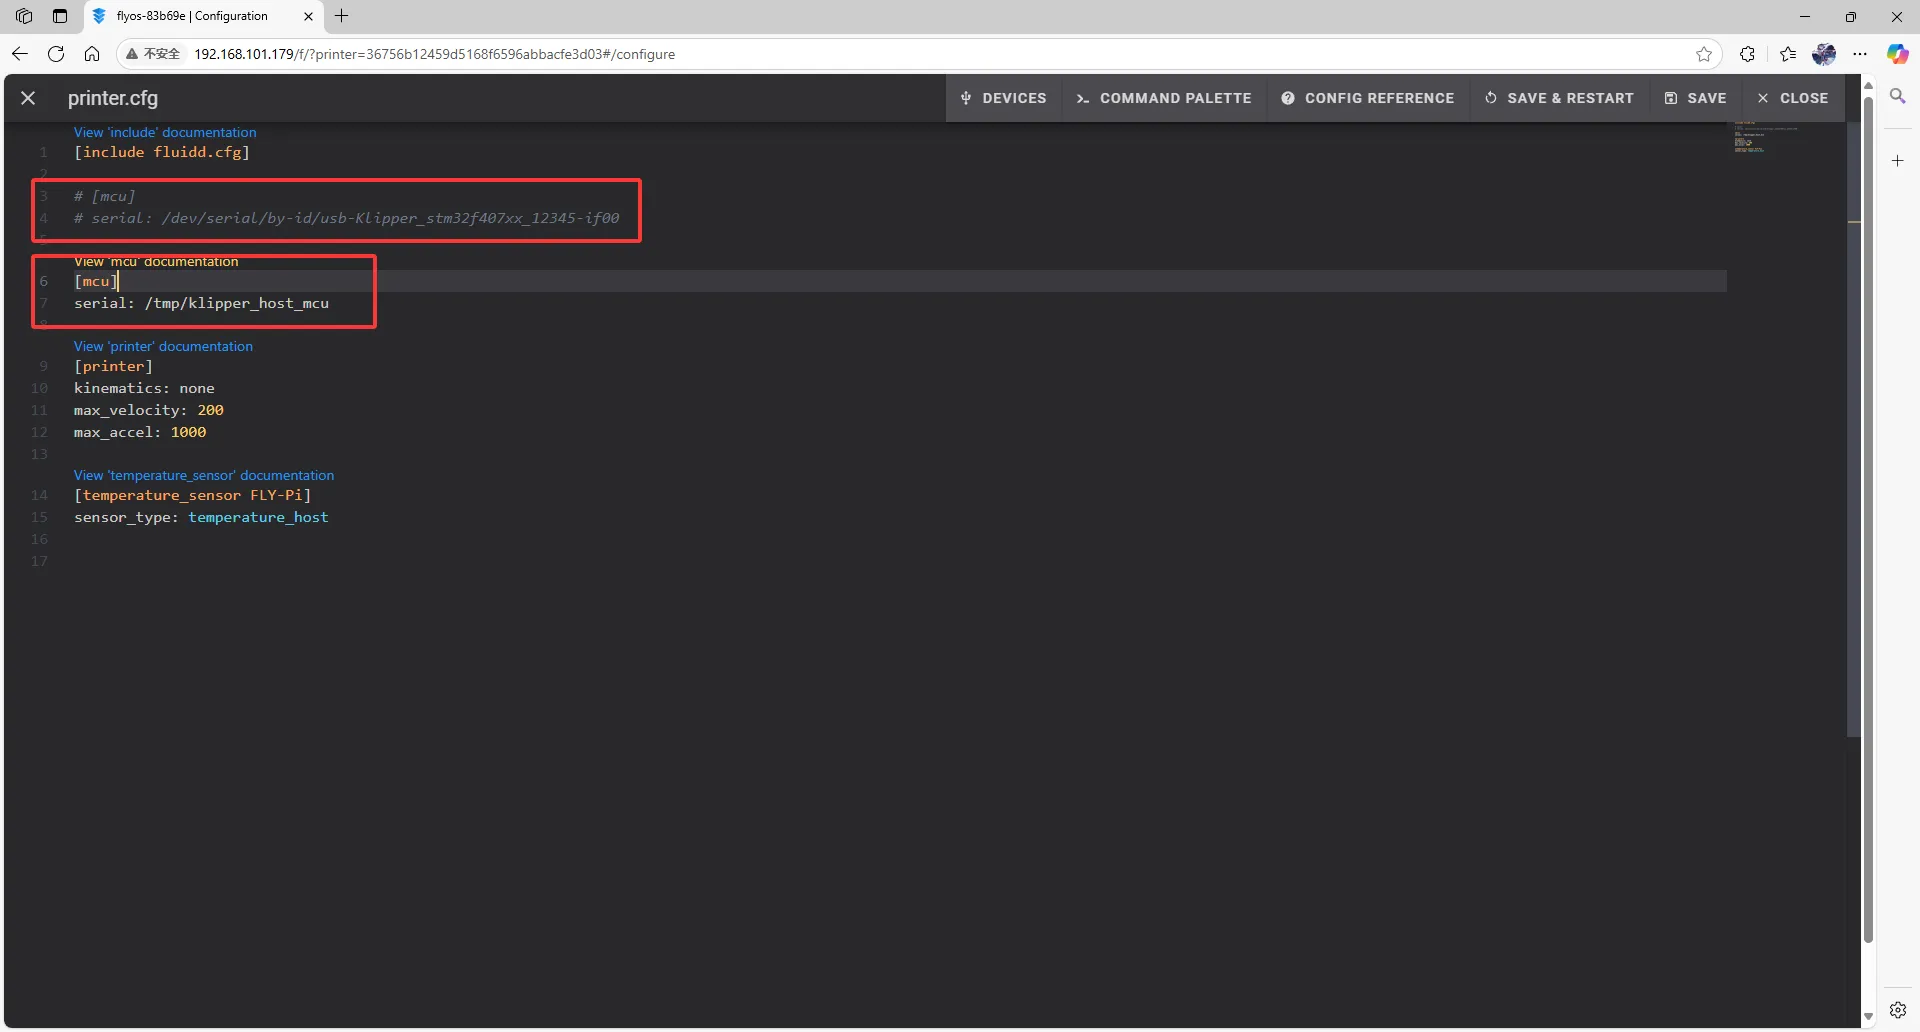
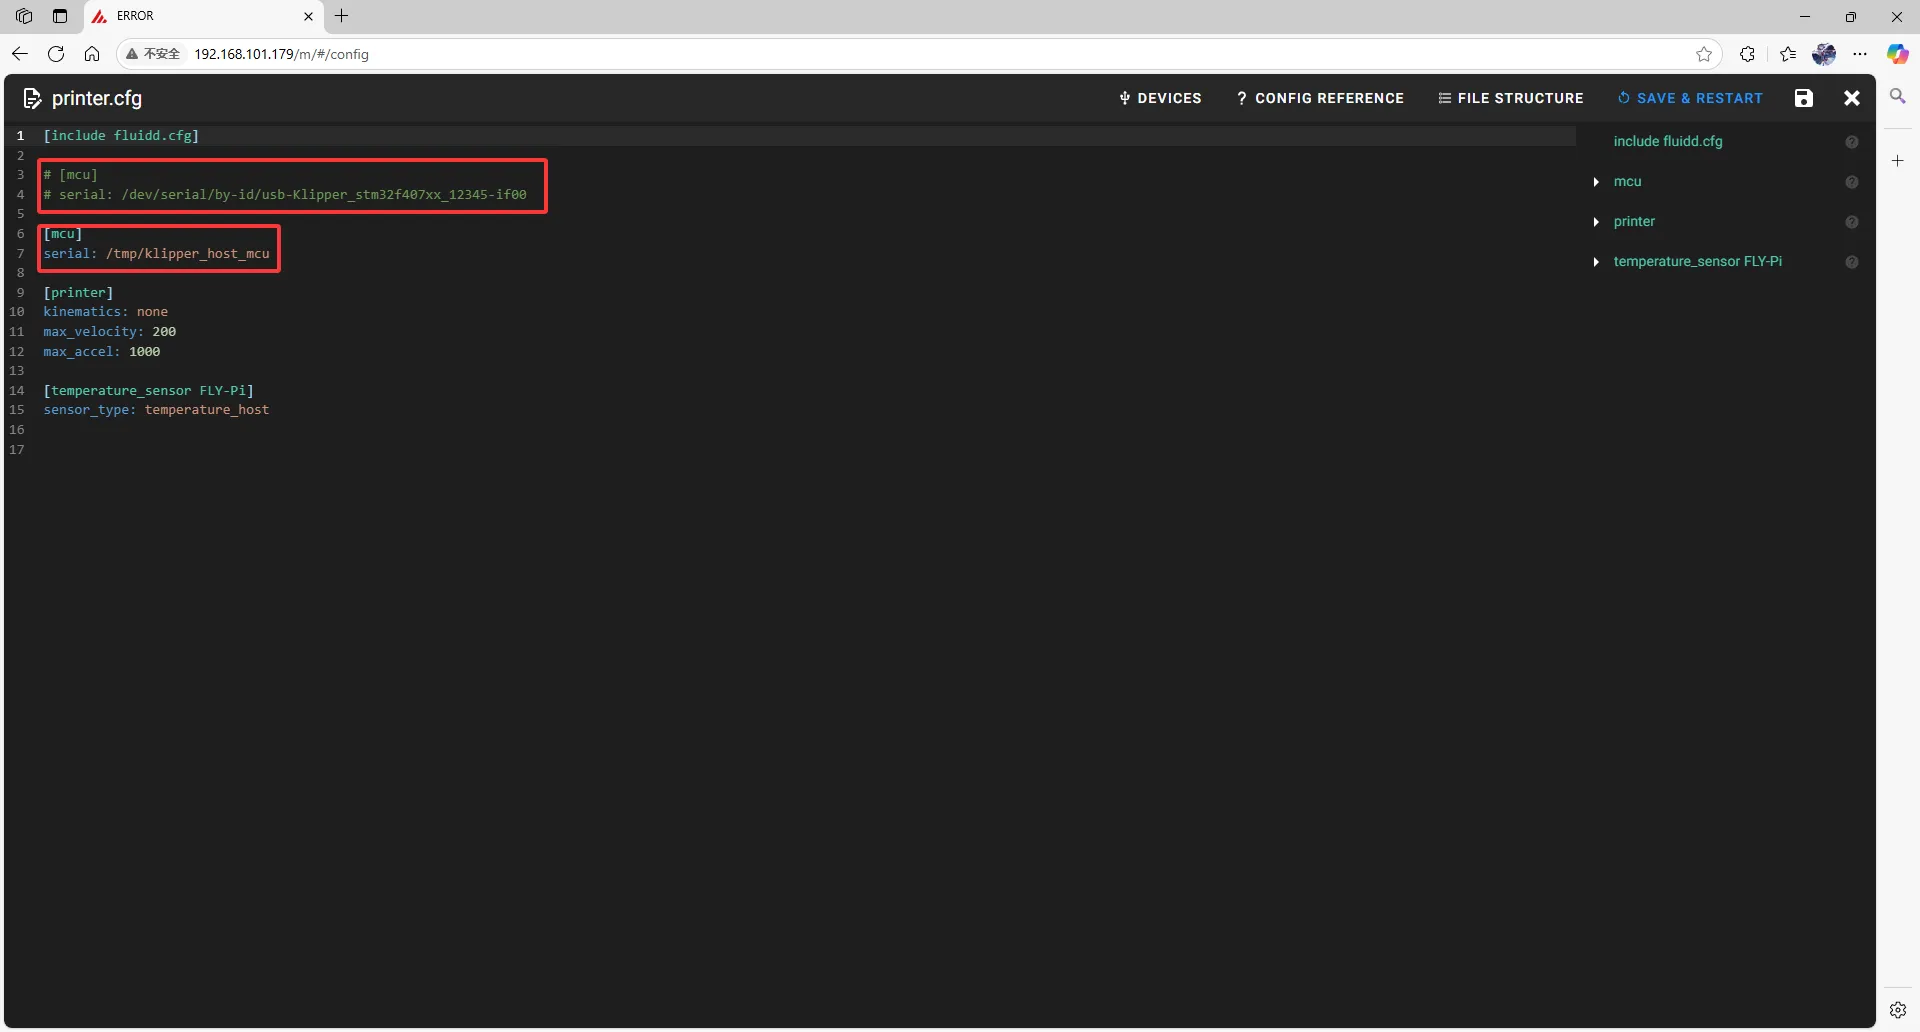
- Close
DEVICESand fill in the ID.
[mcu <Tool Board Name>]
serial: <Replace this with the ID you just looked up>
baud: 250000
restart_method:command
 |
 |
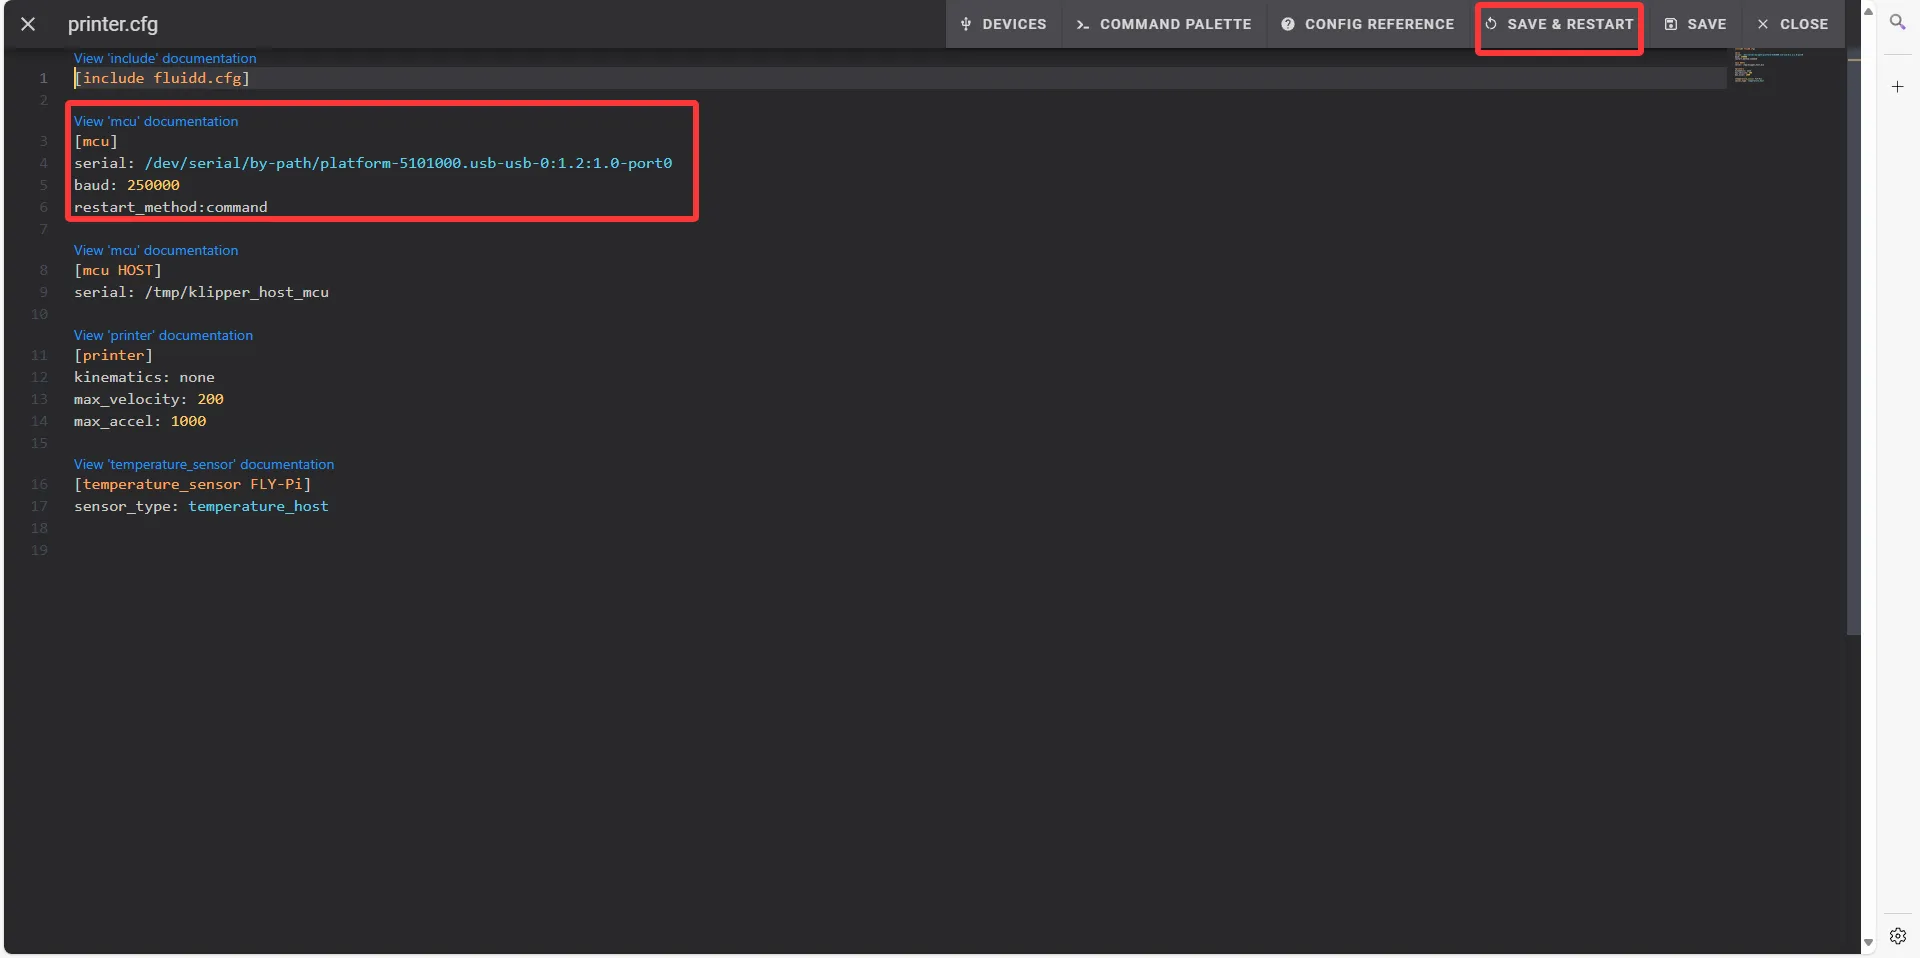
- Fill the ID into the configuration.
- After filling in the ID, click
SAVE & RESTARTat the top right corner.
 |  |
- If Klipper prompts
ADC out of range, this is normal. Connect the heating bed and thermistor to the main board, configure the thermistor pins for the extruder and heating bed, then save and restart.
Note: All IDs shown in this document are examples. Each main board has a different ID, so please fill in the actual ID you obtained.
Please note that the ID below cannot be used!!!!
serial: /dev/serial/by-id/usb-1a86_USB_Serial-if00-port0