BL Firmware
tip
- Please note that the
bootloaderhas already been pre-flashed at factory, no need to re-flash - C5 can only use the built-in host software for flashing
SSH into the Host
Warning
- Use
WiFi to connect to the host SSHbefore flashing the BL firmware
- First please: Use WiFi to connect to Host SSH
Flashing Firmware
-
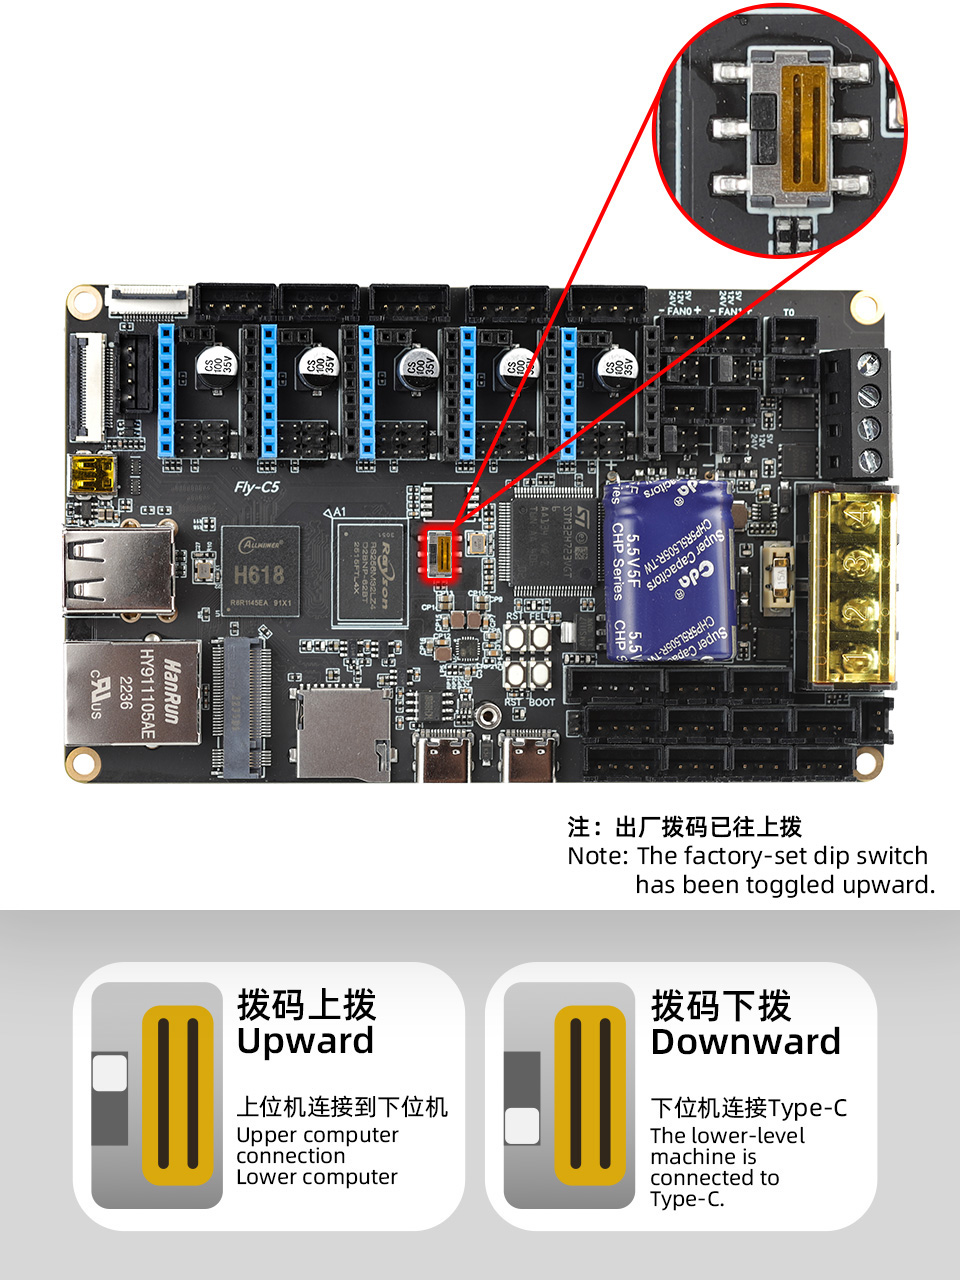
Set the DIP switch upward and connect the USB of the target device to the host
-
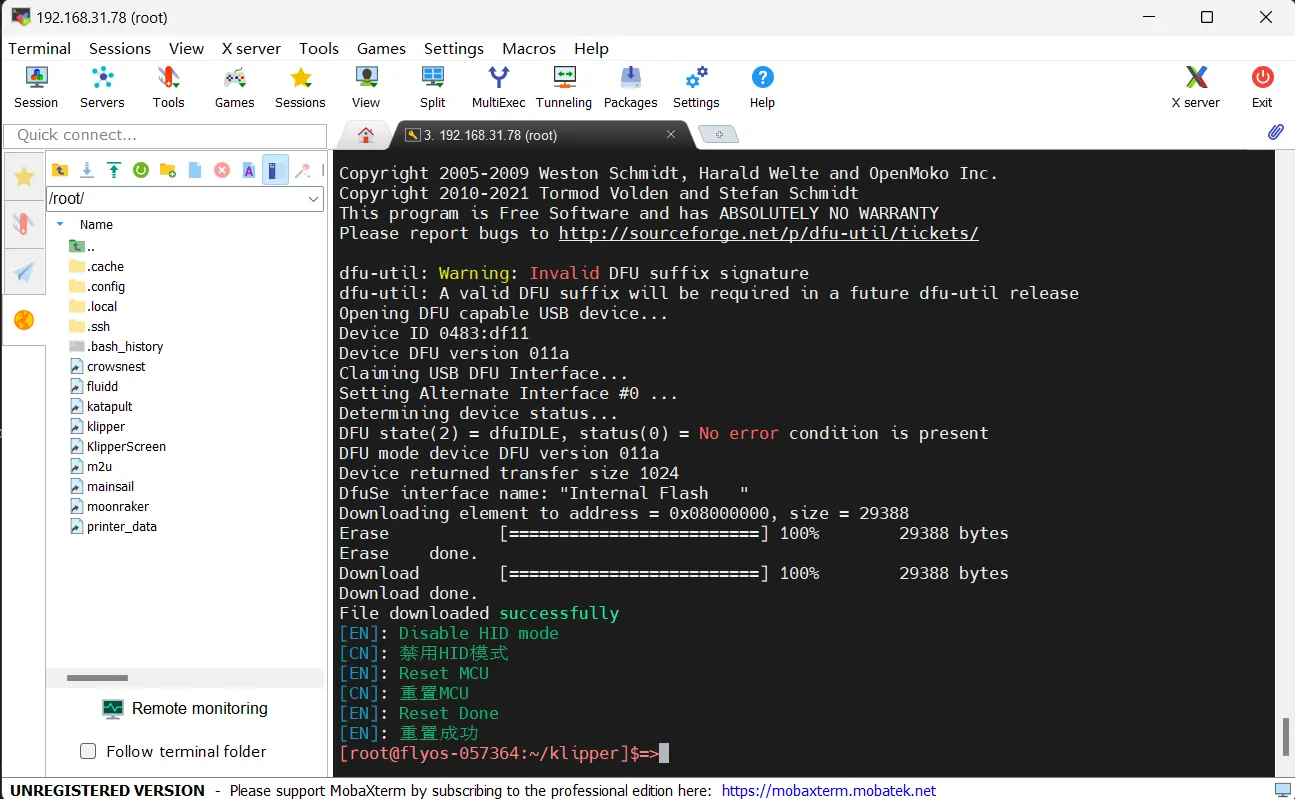
Enter the command below to start flashing the BL
fly-flash -d auto -u -f /usr/lib/firmware/bootloader/hid_bootloader_h723_v1.0.bin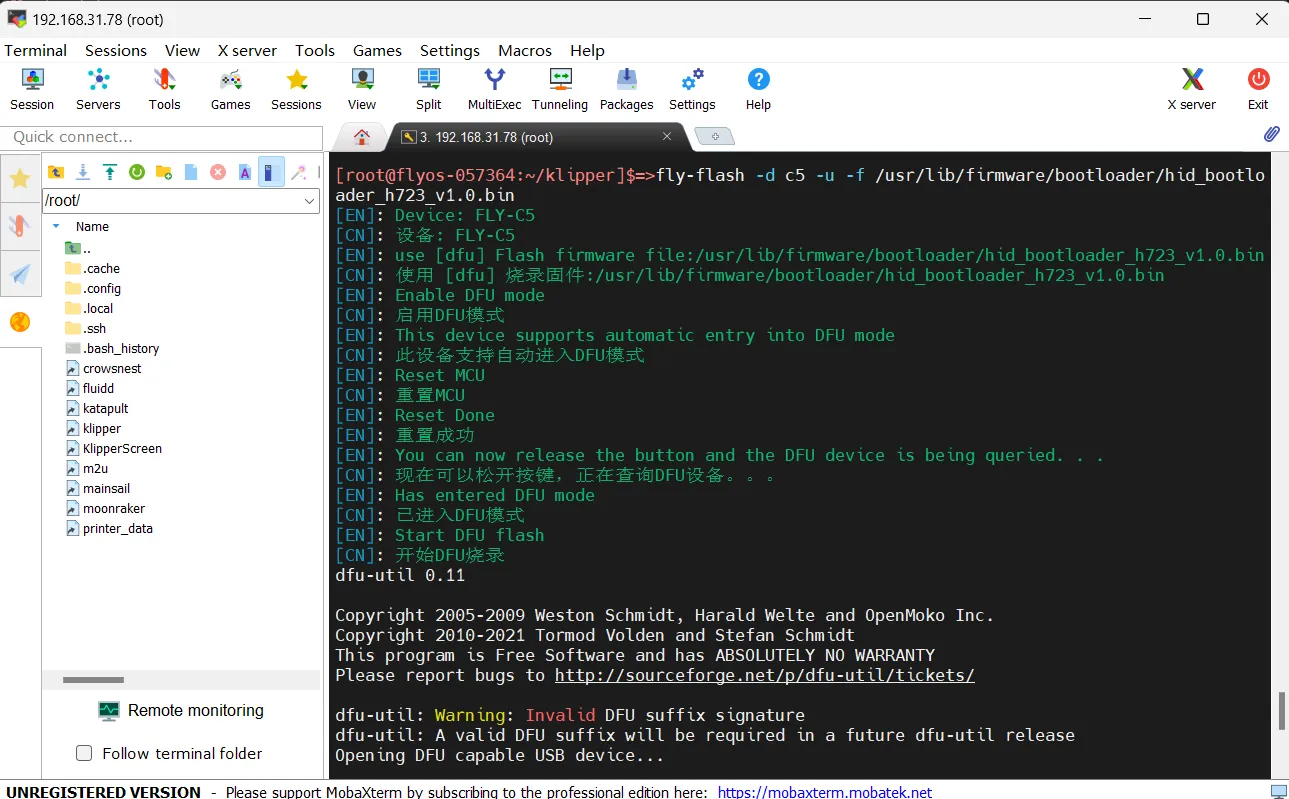
Loading...